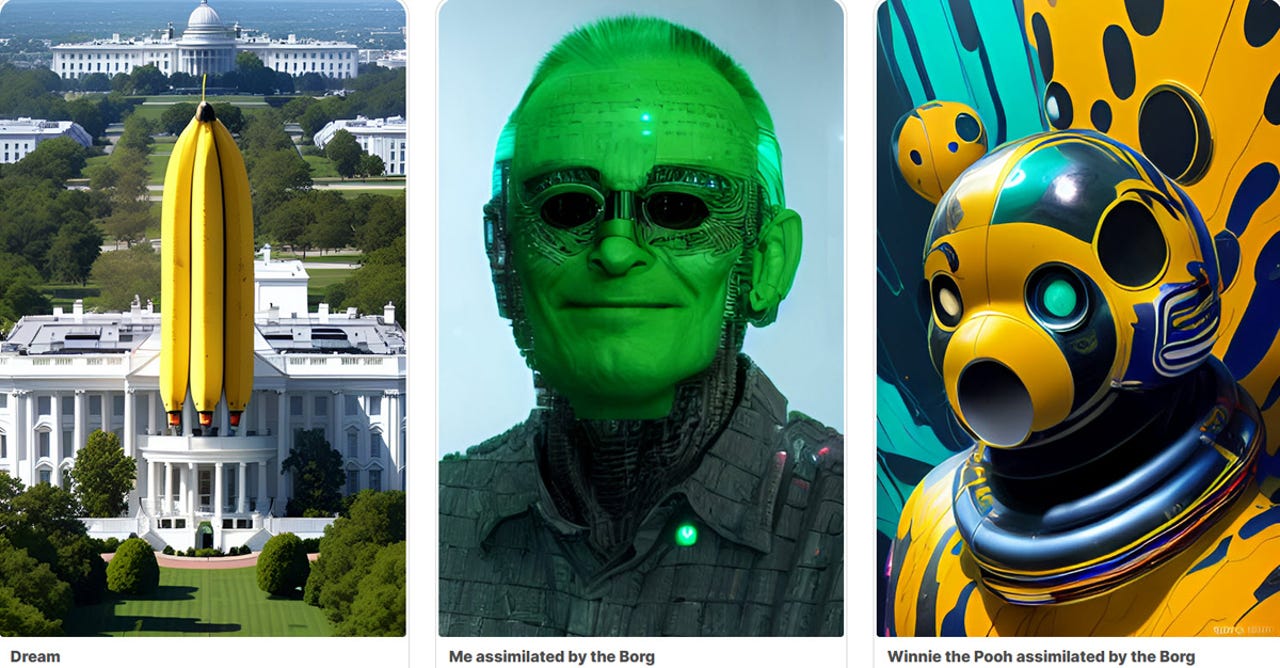
How to use Dream by WOMBO to generate artwork in any style

Among the different websites designed to create images from your text descriptions, one worth trying is Dream by WOMBO. The free basic version of this tool conjures up a single image. You can even choose a specific style of art, such as realistic, mystical, vibrant, dark fantasy, and a host of others. A paid tier concocts as many as four images, dispenses with ads, and offers quicker generation times. Dream by WOMBO is also available as an iOS app and an Android app, so you can use it on your mobile device. Here’s how it works.
How to use: Midjourney | Bing Image Creator | DALL-E 2 | Stable Diffusion
Browse to the Dream by WOMBO website. Click the Start Creating button to dive in for free. Otherwise, click the funky yellow circle icon at the top to set up a paid account for $9.99 a month, $89.99 a year, or $169.99 for lifetime. A free three-day trial also lets you try before you buy. Further, you can sign up for an ad-supported account without having to shell out money for a subscription. Plus, join Dream’s Discord channel to chat with other users, share artwork, and pick up ideas for effective prompts.
Also: How to use Craiyon AI (formerly known as DALL-E mini)
How to get started using Dream by WOMBO
At the page for creating artwork, type the description for the image you want. Scroll down the Art Style window and select the style you’d like to use. Then click Create. With the freebie, one image appears. With the paid plan, four images pop up.
Click the double-arrow for a specific image to enlarge it. Click it again to return to the previous screen. To generate other images, select one you like and then click the Make variations button. One or four images with minor changes will be created based on the one you selected.
A new beta feature lets you edit your description with any modifications you’d like to see. Select one of the images. Click the Edit with text button. At the next screen, type any changes you want to apply to your description. Click the Save edit button, and a revised image replaces the one you selected based on your modifications.
If you’re happy with a specific image, make sure it’s selected and then click the Finalize button. At the next screen, click the Download button and click Original or Background image to save it as a JPG file, or click Video to save it as an MP4 file. To share the image with other people, type a name for your artwork, add any tags you wish, and then click the Publish button.
Whether you opt for free access or sign up with a paid plan, creating an account automatically saves each prompt. To access your history, click the Prompt History button at the main screen. Select the prompt you want to use from the list and then click Create.
Another way to generate a new image is to upload an existing one that you want to tweak. For this, click the Edit image button at the top. Drag and drop or upload an image onto the Upload image field. Type a description in the text field with steps on how you’d like the image modified and then click the arrow.
If you’re happy with the modified image, click Finalize and you can then download or publish it. If not, click Undo and then try again with a different description.
How to use the mobile app
Beyond trying Dream by WOMBO at the website, you can use it on your mobile device. Download the app for iOS/iPadOS or Android. Sign into your account if you’ve created one. The home screen displays artwork from other people to serve as inspiration. To generate your own image, tap the plus icon. At the next screen, choose the size for your image. Type a description in the prompt field or tap the option for Start with an image to upload an existing image for modification. Choose an art style. Then tap Create.
In response, the app generates one or four images depending on your account type. From there, choose a specific image and you can regenerate it to see a new version, create variations of it, or edit it with text. When done, tap Finalize and you’re able to share it with other people or apps.
For all the latest Technology News Click Here
For the latest news and updates, follow us on Google News.
