The one thing every iPhone owner should do right now to save money
If you own an iPhone, and since you opened this article, I bet I can help you save money. In this very unique moment in history, we’re all trying to save as much money as we can. And so today we need to talk about subscriptions.
In this age of the best streaming services and loads of in-app payments, we all have various monthly billing charges. It can be exhausting to keep track of them all. I know, because I have a spreadsheet for streaming services alone.
But as I wrote this article, I saved myself $4 by following my own instructions. Heck, I could have saved more — had I not been pruning my subscriptions as frequently as I already do.
Personally, I currently have 15 ongoing subscriptions that are active on my Apple ID at the moment, and they’re tied to a pretty wide range of apps. I’m paying for the Overcast, one of the best podcast apps. I’ve also got payments to Todoist and Drafts, two of the best productivity apps. I even thought I was paying for 1Password there, but I’m paying for that directly.
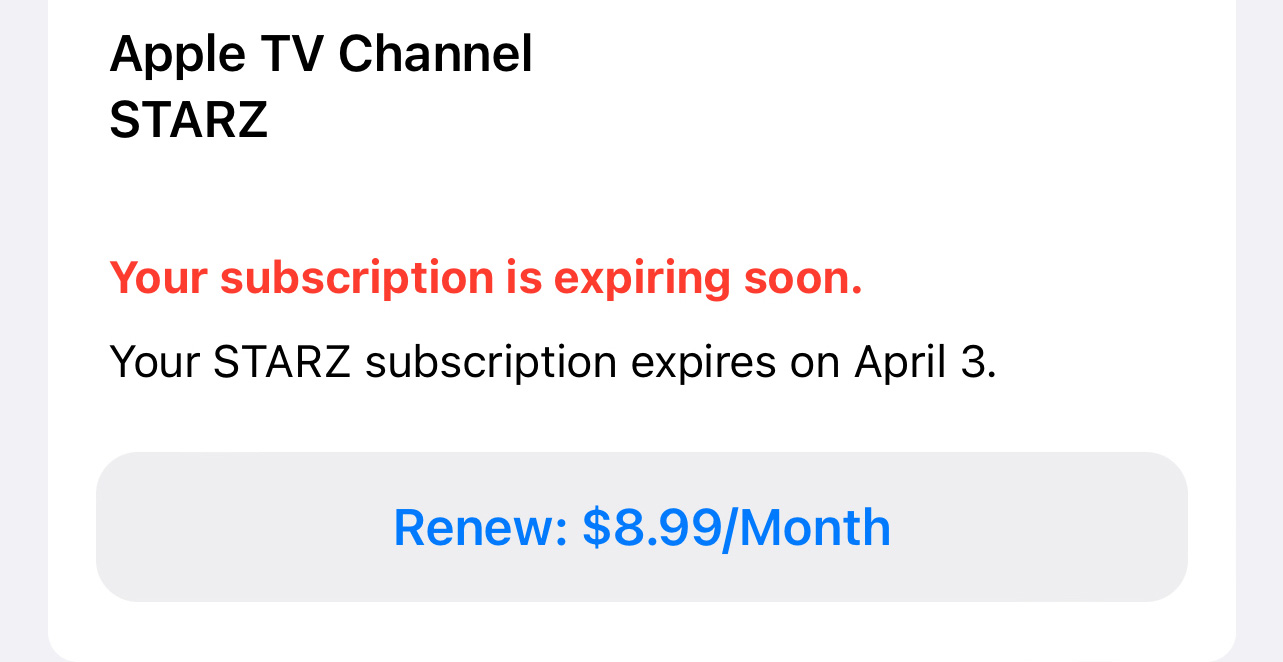
Oh, and this is where I subscribe to Starz for Party Down season 3, some of my friends’ Twitch channels, a premium version of the Bumble dating app and — of course — an Apple One services bundle. I list all of the above to explain how much more complicated the subscriptions tied to your Apple ID can be.
Some people, if the ad-reads I hear on my favorite podcasts, sign up to whole services to avoid this sort of situation. But the more you subscribe to with Apple, the easier it is to make sure you don’t pay for more than you’re using.
Here’s how to check and manage your subscriptions on the iPhone (and this also works on the iPad):
1. Open Settings.

(Image: © Apple)
Yes, the app you thought you only used to manage notifications and Wi-Fi is also where you control your app subscriptions.
2. Tap on your Apple ID right at the top of the app.

(Image: © Apple)
Right underneath the big “Settings” — you’ll see your avatar photo and your name. Click there.
3. Tap Subscriptions.

(Image: © Apple)
This should be right below “Payment & Shipping” and right above iCloud.
4. Tap Sort.

(Image: © Apple)
You may not need to, but I prefer to do this kind of gardening based around your most-imminent payments.
5. Tap Renewal Date.

(Image: © Apple)
Of course, sorting by price may also be something you prefer to do.
6. Tap on a subscription.

(Image: © Apple)
Subscriptions you’re not sure about are like true love: you know it when you see it.
7. Tap Cancel Subscription.

(Image: © Apple)
You’re one step away from avoiding being re-billed.
8. Tap Confirm.

(Image: © Apple)
There, you’re done! Now, onto the next one (repeat steps 6 through 8 as needed).
Voila! You’re done. Now, in your reminders app of choice, set a recurring reminder to do this again in a month or few. Trust me, you’ll be glad you did.

More from Tom’s Guide
For all the latest Technology News Click Here
For the latest news and updates, follow us on Google News.
