


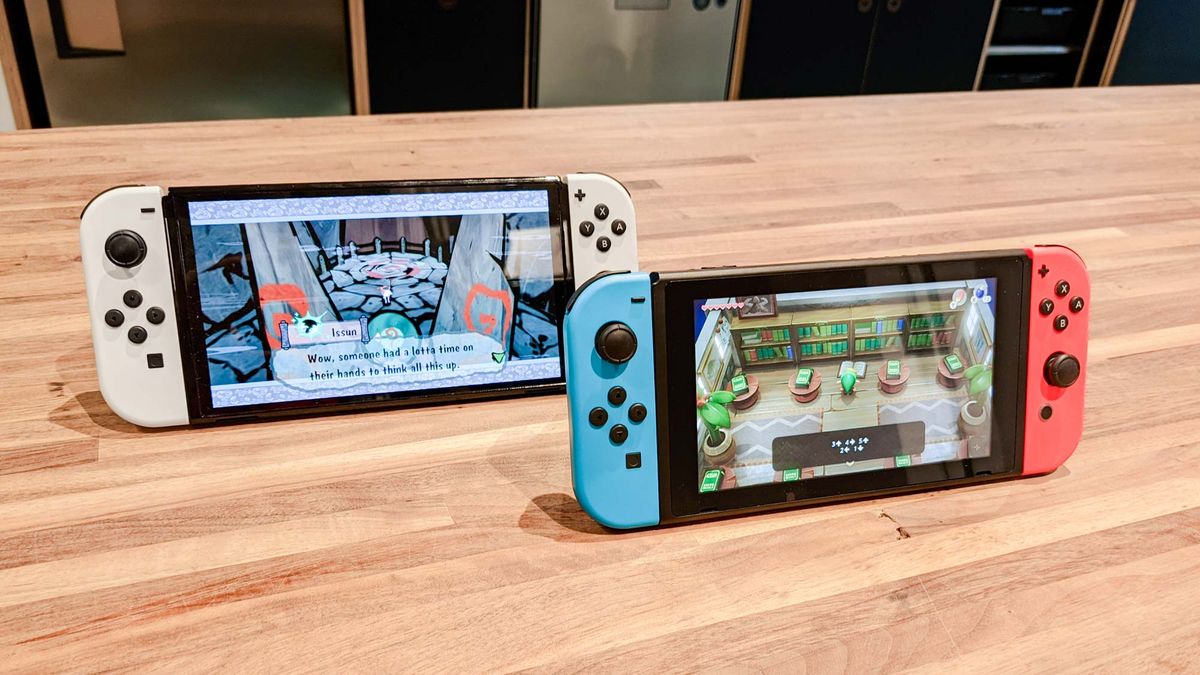
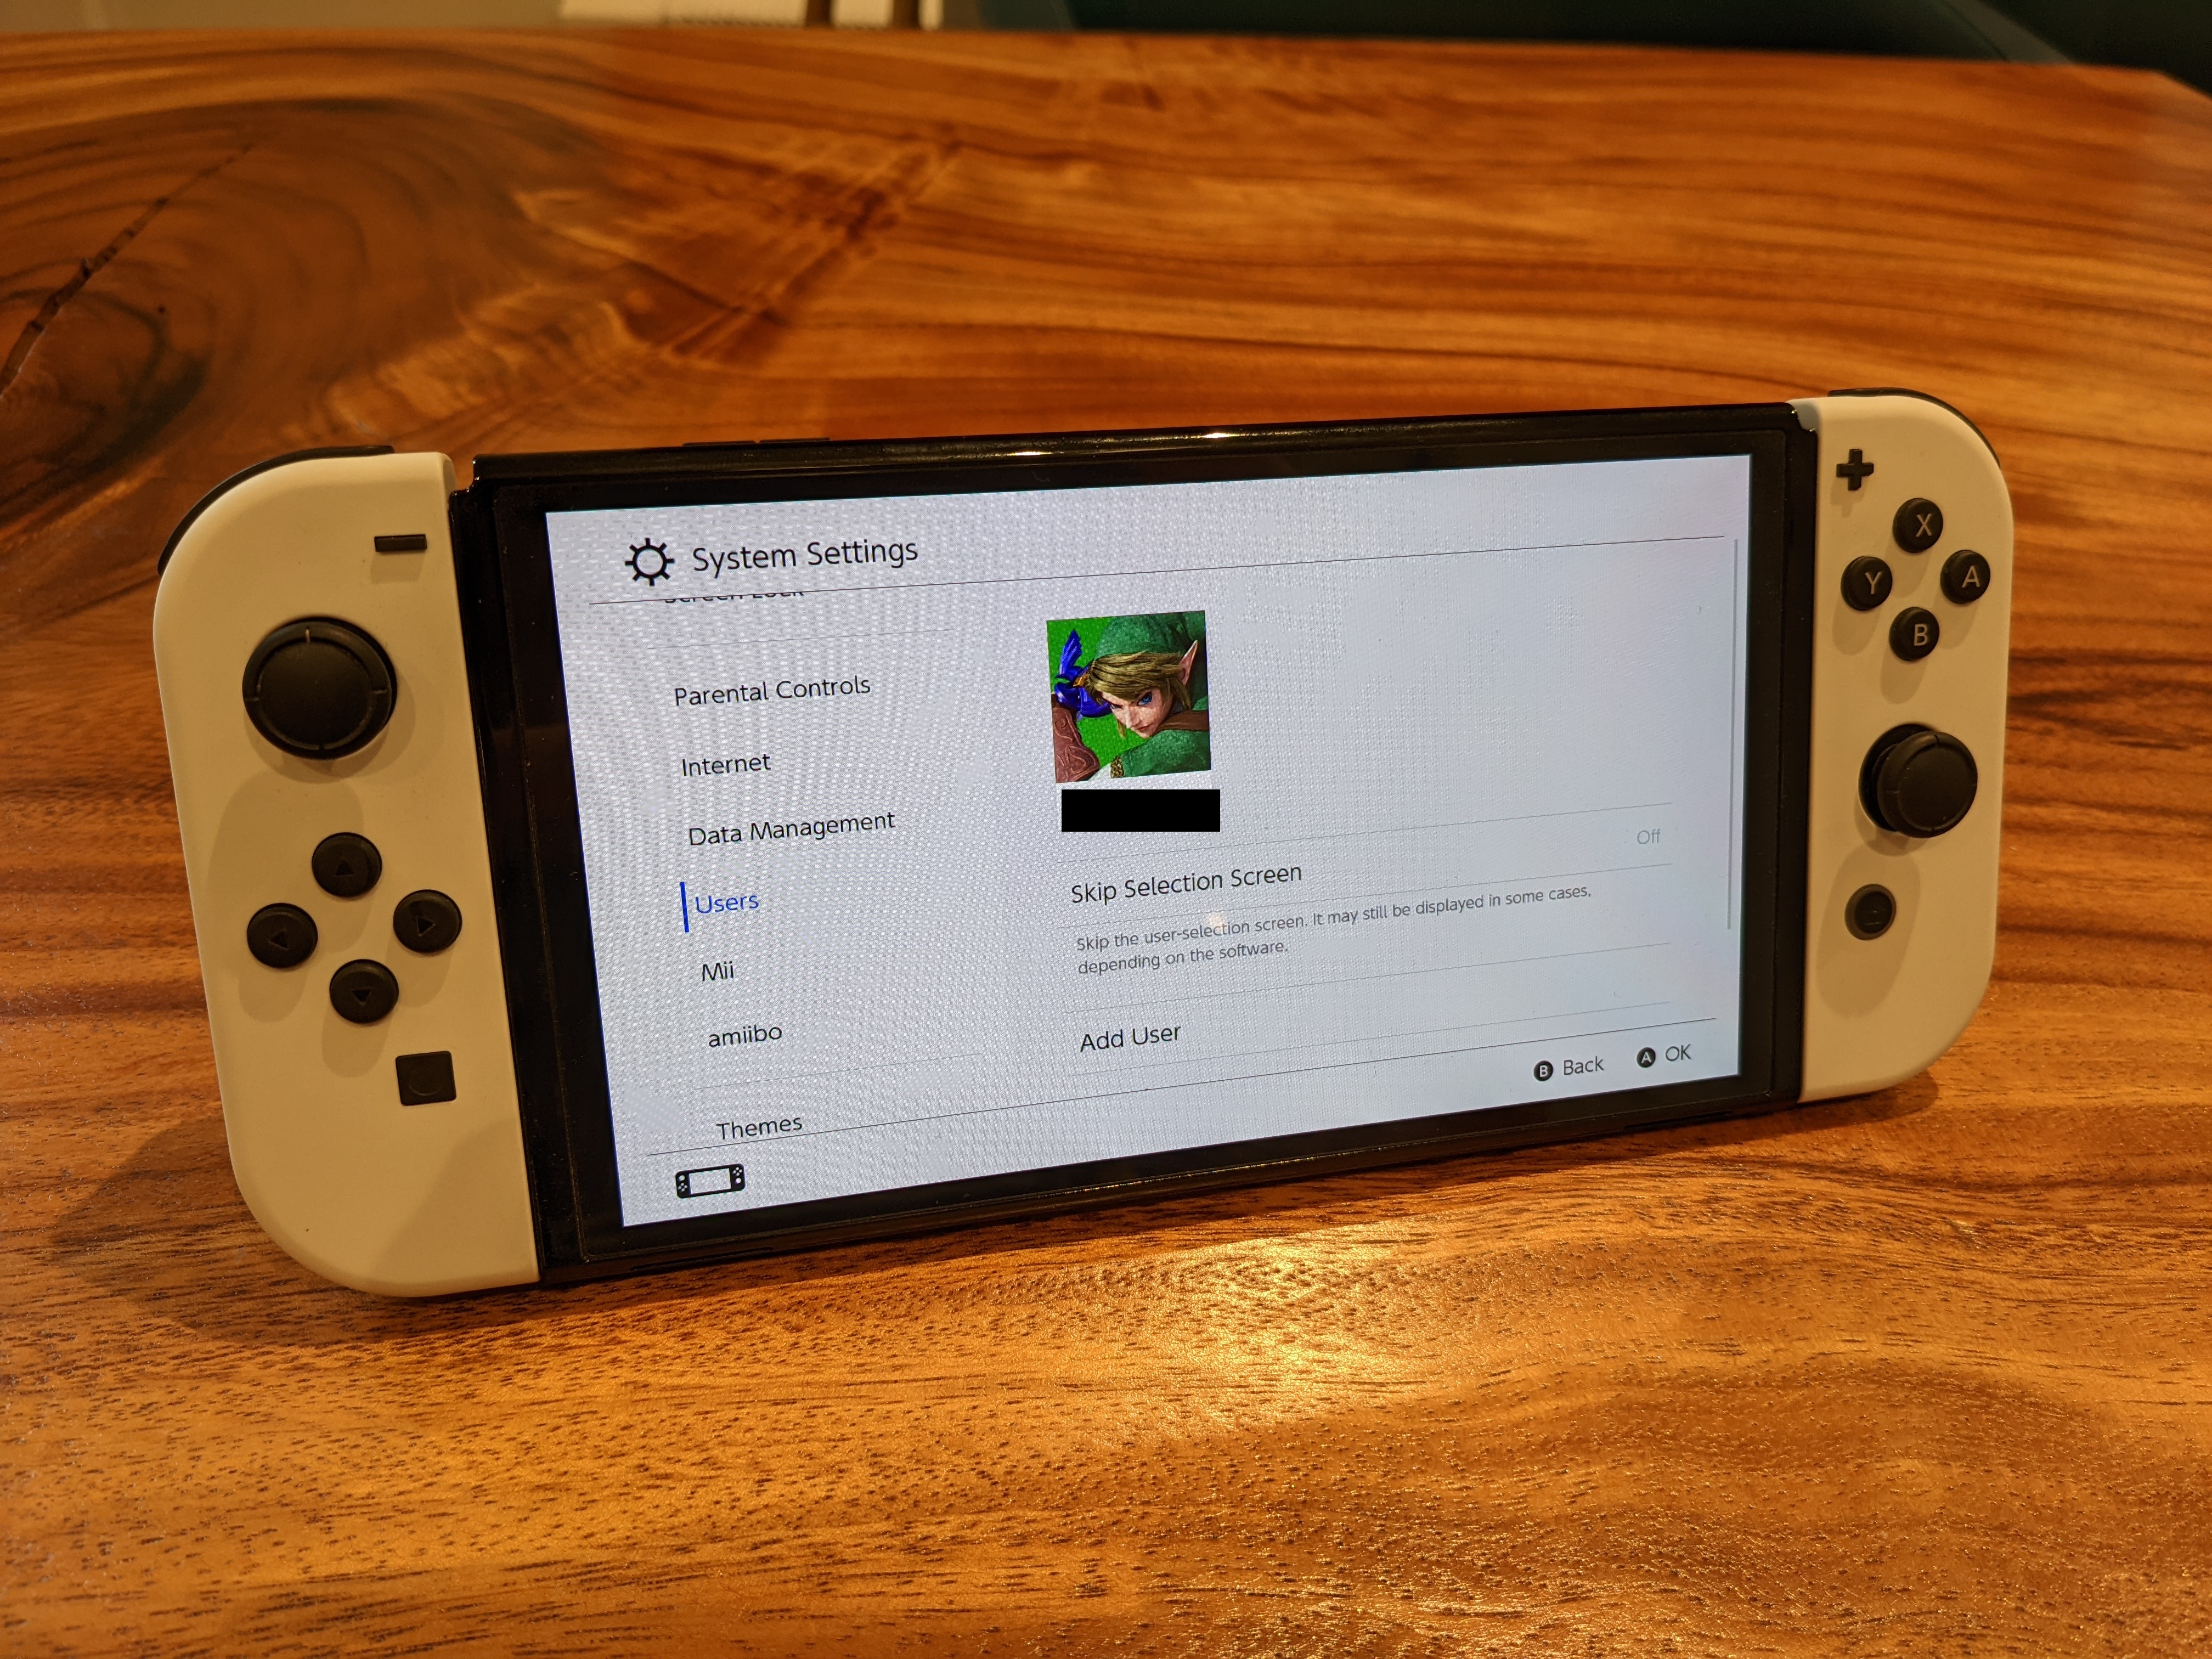
If you want to share Nintendo Switch games with your family, you’re in for a rough time. Like many of its online features, sharing your game library on the Switch is an arcane and occasionally frustrating process, requiring some tedious setup and a few ongoing inconveniences. However, if you have a large family, sharing your games is still a considerably cheaper option than buying multiple copies of the best Nintendo Switch games to play.
While the Switch does allow you to add multiple accounts to a single family unit, this won’t actually allow you to share most games. Instead, you’ll simply have to designate a primary game-buying account, and hope against hope that people don’t want to play the same titles at the same time.
In this piece, we’ll walk you through how to share Nintendo Switch games with your family by assigning your account to a primary console. Bear in mind that this process is not foolproof, and that syncing save data among multiple consoles is always going to be a pain. If multiple family members are clamoring to play the best Nintendo Switch multiplayer games at the same time, you’ll probably have to bite the bullet and just buy multiple copies. (Pro-tip: Physical copies are much easier to share in a single household than digital copies.)
How to share Nintendo Switch games with your family
Before we start, we should quickly explain that sharing Nintendo Switch games with your family isn’t the same thing as adding family members to your Nintendo Switch account. While it seems like the two functions should be related, they’re not. For now, just be aware that unless you’re trying to share Nintendo Switch Online functionality, you don’t actually have to add family members to your account to share games with them. We will write a separate article about this process, and link to it here once we’re done.
Briefly, here’s how sharing games works: Nintendo does not have a dedicated feature that lets you share downloaded games with family members. What it does have, however, is a function that lets you designate a “primary” Switch. On your primary Switch, anyone can play any game that you download, either online or offline. On any other Switch, you have to be logged into your account, and the system has to check your license for the game online.
In other words, the easiest way to share Switch games with your family is to choose one person as the game buyer, then designate a shared console as his or her “primary” Switch. This won’t let you share every single game you own across every single Switch console in the house. But it’s considerably better than not sharing your games at all.
(Technically speaking, you can log into your account on any number of Switches and try to share games that way. But that’s also a great way to turn your cloud saves into a mess and get kicked out of games constantly. I wouldn’t recommend it, unless you can coordinate your family’s gaming schedule to an uncanny degree.)


1. Designate a primary console
First things first: You’ll have to choose a Switch as your primary console. My recommendation would be “whichever Switch is currently docked at a shared TV,” but you know your family better than I do. Once you set your primary console, un-setting it is a bit of a pain, so choose carefully.
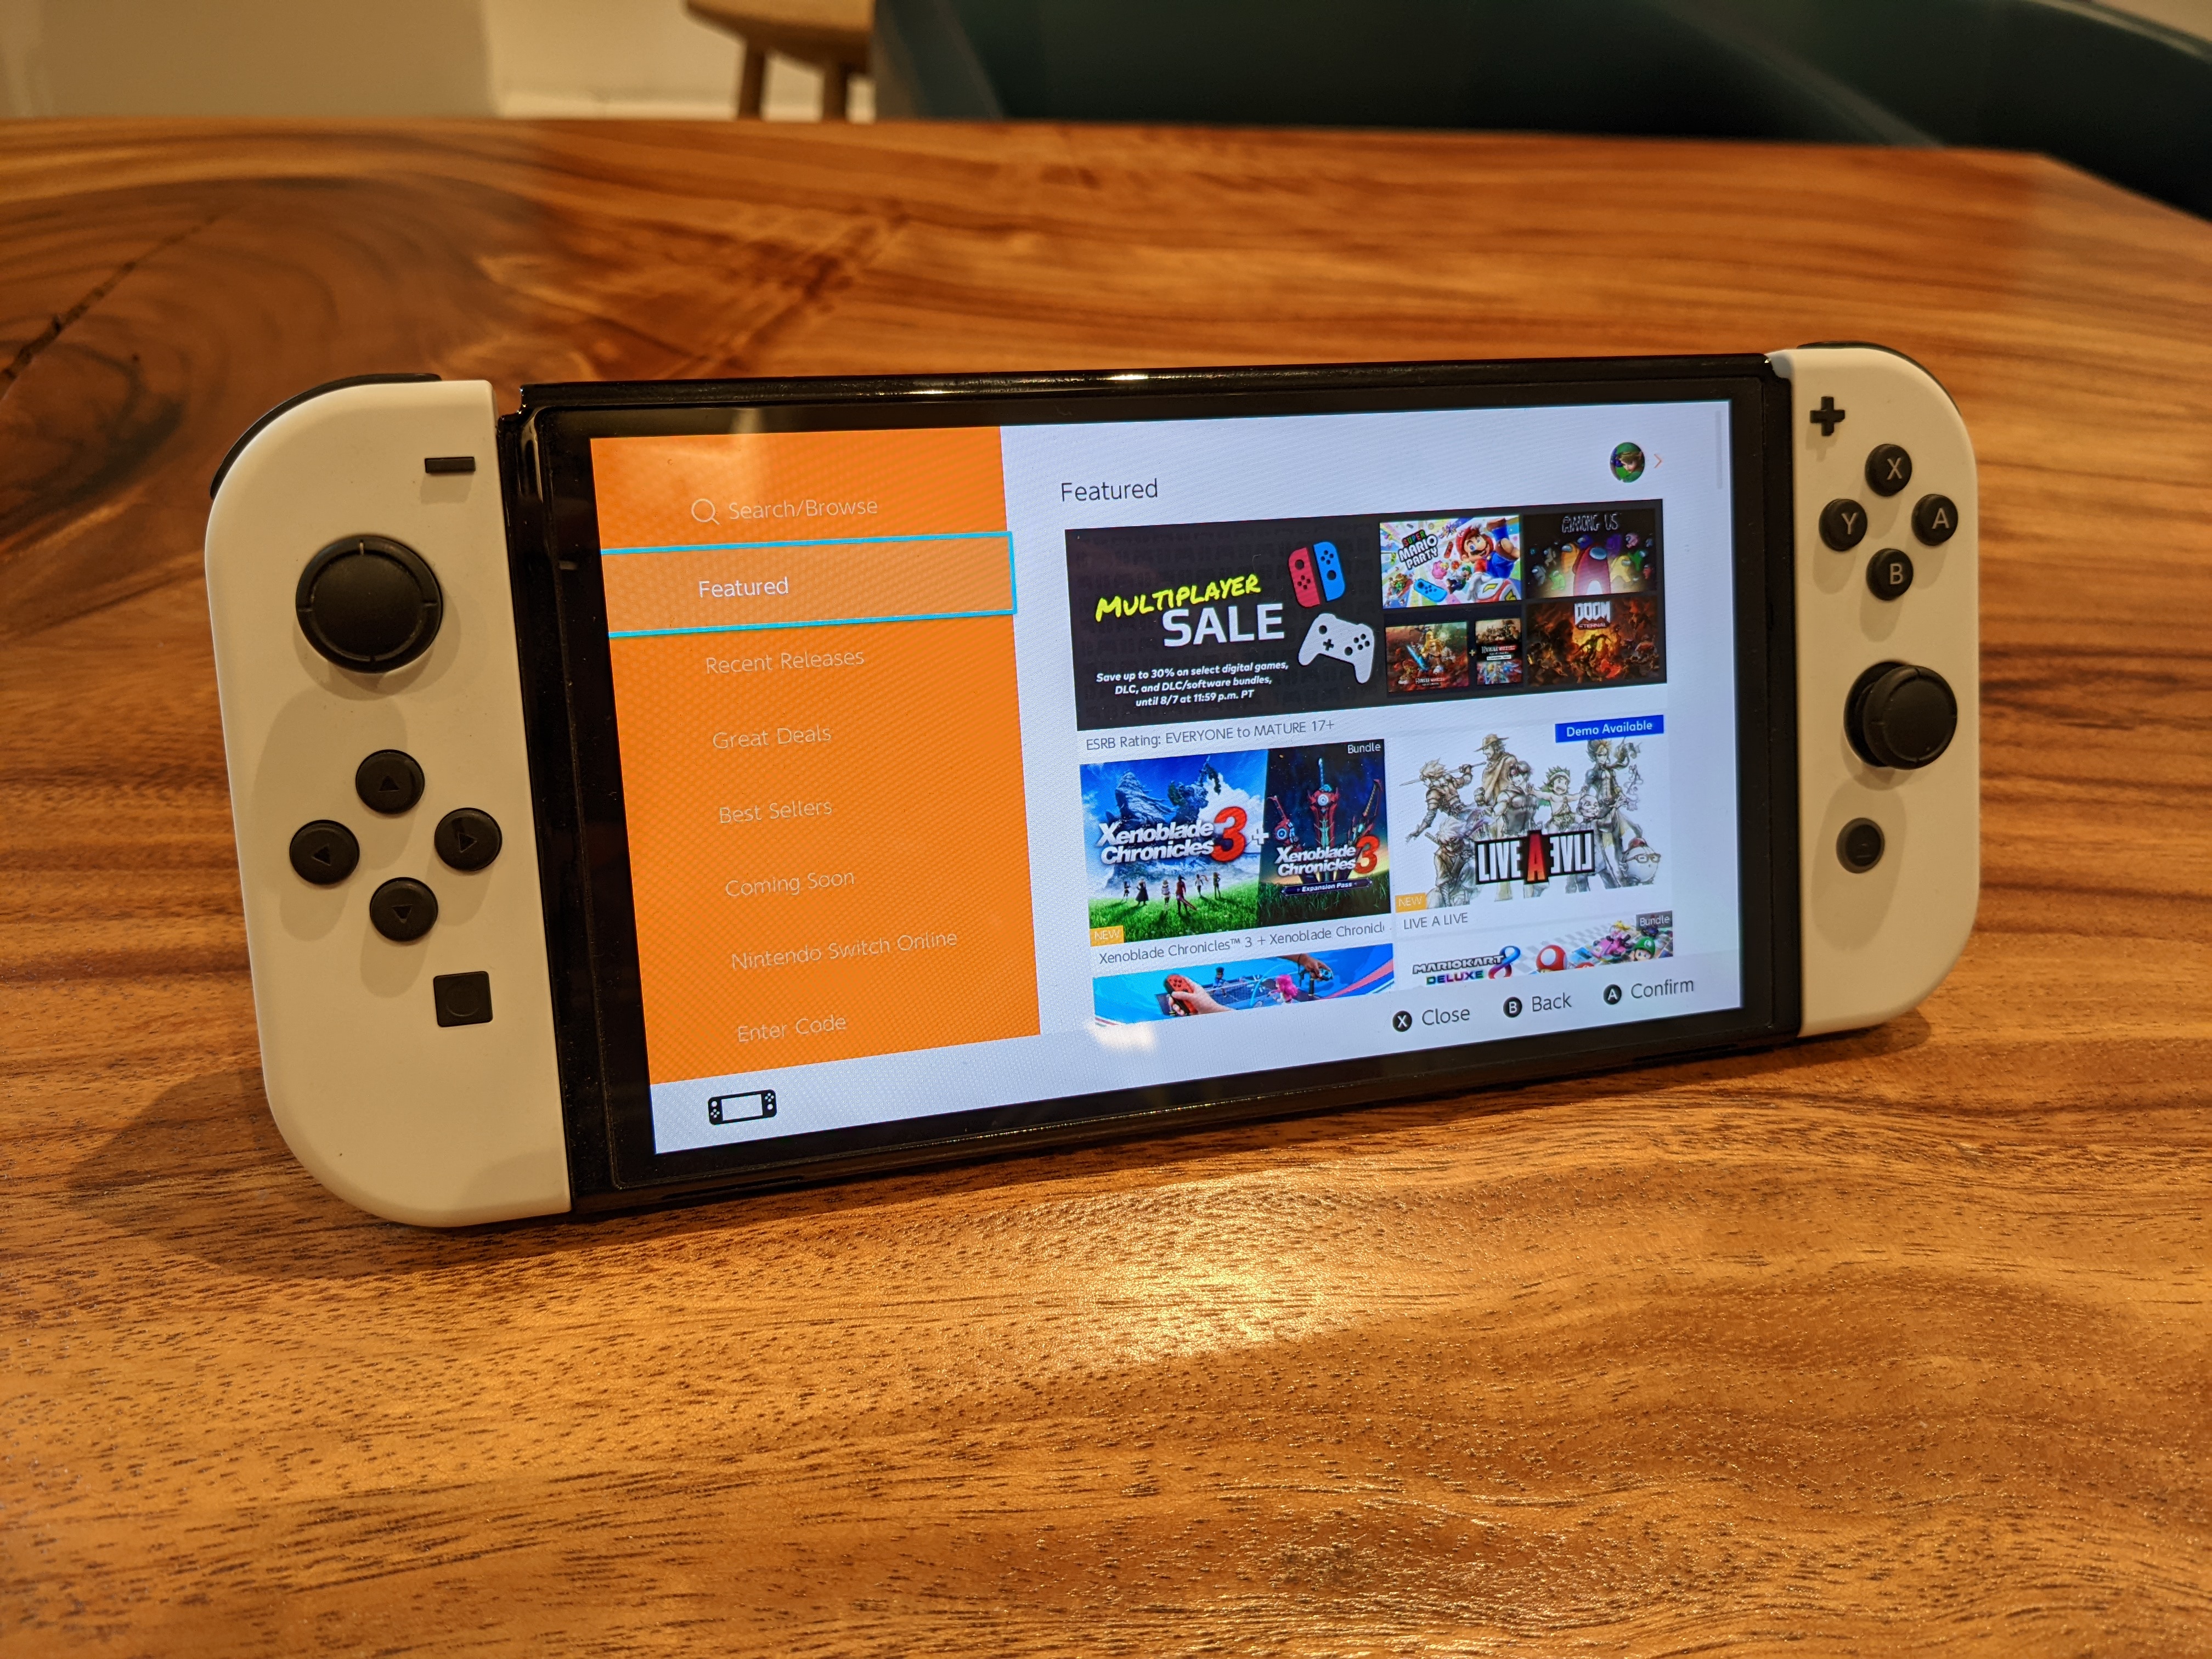
Once you’ve selected your console, log in with your Nintendo account and open the eShop. Click or tap on the Settings menu in the upper-right, and scroll down to the Primary console section.
If the message reads, “This console is registered as your primary console,” you’re essentially done. Just download whatever games you want to share, and anyone with access to this console can play them, either online or offline, on your account or their own.
If the message reads “A different console is registered as your primary console,” buckle up. You’ve got a lot of work to do.

2. Deregister your console
Remember: If you see “This console is registered as your primary console” on the desired Switch, you’re done. You don’t have to do any of these follow-up steps. If, however, you see “A different console is registered as your primary console,” keep reading.
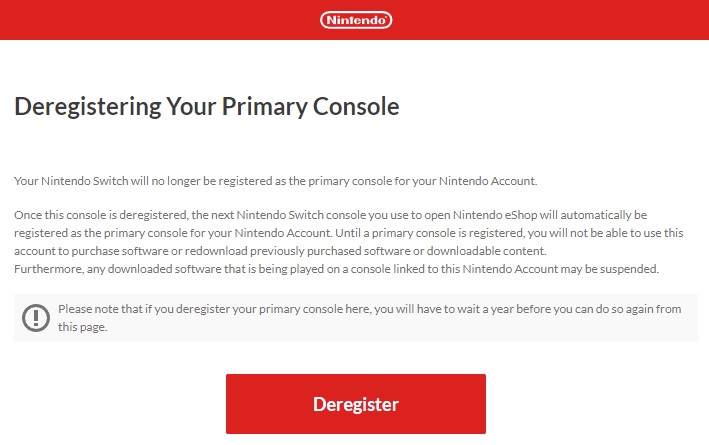
First off, if you have your primary Switch somewhere, the process is pretty easy. Simply get your primary Switch, then open the eShop, go to Settings and scroll to the Primary console section, just as above. Then click Deregister and follow the prompts.
If you don’t have your primary Switch handy, the process is somewhat more complicated. Log into your account on the official Nintendo website, then click on Profile settings in the upper-right. Click on Shop menu, and scroll all the way down. Deregister Primary Console will be the last option.
From here, just follow the prompts. Remember, however, that you can deregister a primary console via Nintendo’s website only once per year. It’s a sensible security measure, albeit a tedious one. It’s easier to deregister your primary console if you have it on hand.
3. Log into your preferred console
From here, setting a new primary console is actually easier than you might expect. Access the Switch you want to use as your primary console — once again, the “family room” Switch is my recommendation. Now, log into your Nintendo account and access the eShop. Your account will now automatically recognize this Switch as your primary console. You can repeat Step 1 if you want to verify that the process worked.
4. Download your games
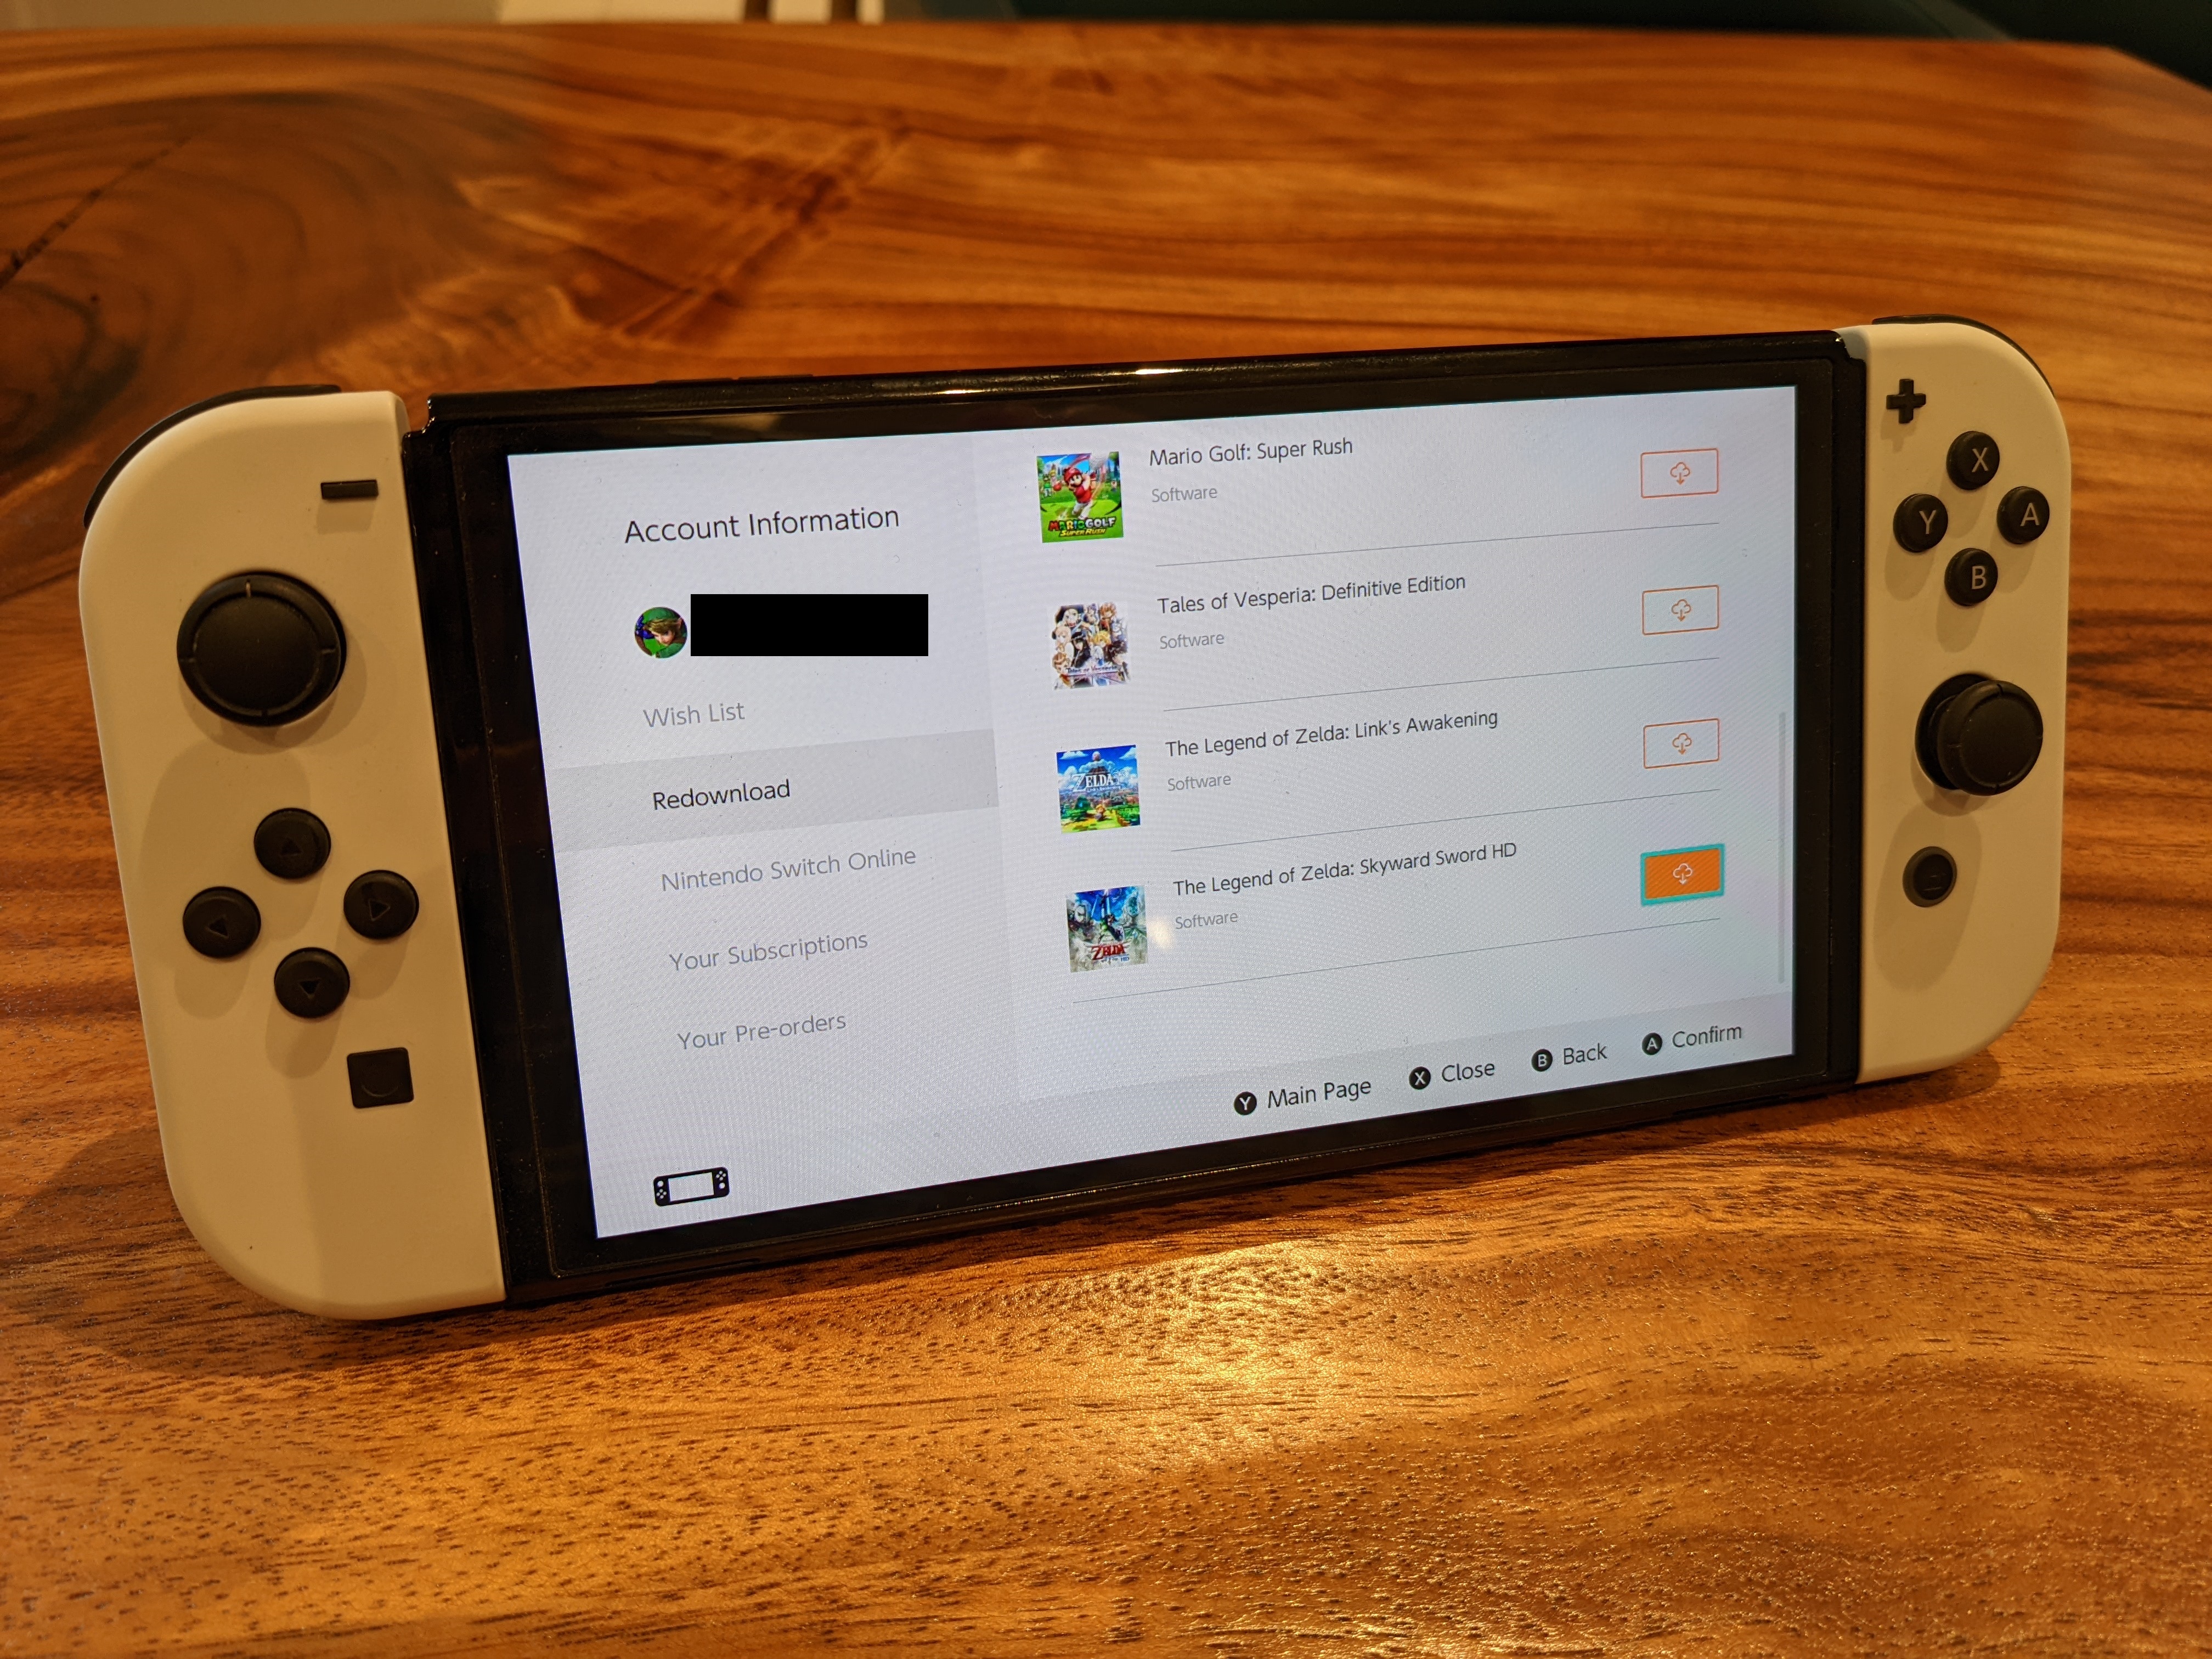
Here’s the easy part. Once you’ve set your primary Switch console, just download all the games you want to share with your family. On your primary Switch, anyone can play any game — no online license check necessary. If you want to check your full list of owned games, check the Redownload tab in the eShop profile menu.
5. (Optional) Set up your secondary console
Your other Switch is now considered a “secondary” console. It should still be good to go, but you can log back into your Nintendo account if you got kicked out.
For the most part, your secondary console will work the same as before. The big difference is that you’ll have to get online to check a game’s license at least once per day. At home, this shouldn’t be a problem. If you’re traveling, just be sure to boot up a game briefly before you leave the house, then put the system to sleep. Otherwise, you could find yourself staring down a license check screen rather than actually playing a game for the next few hours.
Remember, you don’t need to worry about license checks if you have a physical copy of the game.
Looking for more Switch-related tutorials? Here’s how to check your hours played on Nintendo Switch, how to reset a Nintendo Switch and how to appear offline on Nintendo Switch. And don’t forget to also browse through our list of the best Nintendo Switch games.
For all the latest Technology News Click Here
For the latest news and updates, follow us on Google News.