
Many of us, from professional photographers to complete beginners, get the urge to try our hand at Photoshop. Whichever you are, you shouldn’t be intimated by the prospect of editing in Photoshop; it only takes a few steps to make your pictures look great.
Adobe Photoshop offers users endless possibilities to edit their photos and create graphics, which is why it’s become my personal go-to over the years. There are several ways to edit in Photoshop. Which ones you choose will depend on preference. We’ll cover a very basic method to edit a photo in the steps below.
How to use Photoshop
Step 1: Open your image in Photoshop
Open Adobe Photoshop and go to File in the menu at the top of your screen. Click on Open to view the file browser and select which picture you want to edit. I chose a picture that was taken by my five-year-old.
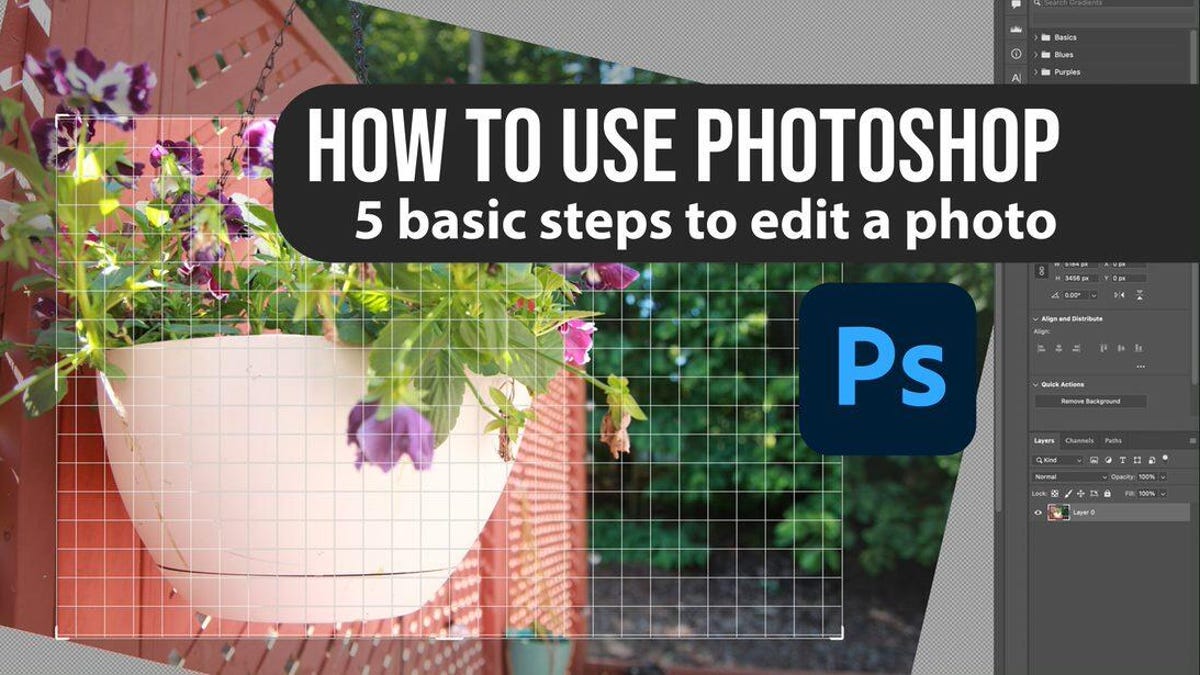
Below is a Photoshop window: Tools is on the left side of the screen, Options is at the top, and the Adjustments and Layers are on the right.
Photoshop lets users pick their workspace layout. This is the Essentials layout, which is the default. Image: Maria Diaz / ZDNet
Photoshop works with layers, so when you make an adjustment like brightness and contrast, you add an adjustment layer on top of your picture. If you decide to delete that layer later on, the brightness and contrast adjustment will be deleted with it.
Always keep your image layer below the adjustments layers. Image: Maria Diaz / ZDNet
It’s important to keep the order of your layers in mind as well. If you’re editing a photo, that image should be the first layer. Anything below that image layer will not be visible unless you erase a portion of your image (by cutting, using the Eraser tool, or deleting it) to let what’s below it show through.
Step 2: Crop and straighten
The Crop tool is on the left side of the window. Image: Maria Diaz / ZDNet
Select the Crop tool. Then, think of the photo as a canvas. The first thing I do when I open a picture in Photoshop is adjust my canvas to the size and composition I need. Just click the corners of the crop frame and drag it to adjust the size. When you’re happy with the new framing, you can place your cursor just outside any edge of the Crop Tool’s bounding box until you see it turn into a bent, double-ended arrow. Clicking and holding will let you move the frame to rotate and straighten your image.
Image composition is something a photographer takes into account while taking a photo, but you also need to keep it in mind when cropping. This will ensure that that the elements you want to include aren’t cropped out and will also maintain good composition.
Use the lines as your guide to ensure the photo is straight. Image: Maria Diaz / ZDNet
Straightening is key to a good photo. A good rule of thumb is to always use the horizon as a guide to straighten pictures. If you have a specific horizon line you’d like to use, you can click Straighten in the Options section. This will let you draw a line that the image will instantly rotate to. Not all photos need to be straight, though, and you can choose a tilted composition as an artistic liberty. Play around a bit to see what looks good to you.
When you’re happy with the cropping and rotation of the image, click the Check-mark in the Options bar, or hit Enter on your keyboard to apply the changes.
Step 3: Play with your levels
Select Levels under Adjustments to add a layer over your image, which will allow you to play with the levels and familiarize yourself with a histogram. Levels can be used to adjust exposure and make photos look brighter or darker.
Adjusting Levels will display the photo’s histogram, which is essentially a graph that represents the light levels of an image. A histogram’s left side symbolizes black and the right side symbolizes white. Adjusting the indicator arrows shown below can dramatically change the dark and light levels on the photo.
The indicator arrows can be moved to the right or left to adjust the shadows and highlights of the photo. Image: Maria Diaz / ZDNet
Both ends of the waves on a histogram should theoretically taper off evenly until flat; if a curve abruptly ends on one side, it’s an indicator that the picture may be over- or under-exposed. However, a great photo doesn’t need to have the curves tapered off in its histogram. If a picture was taken in the dark, the histogram may look more like the one on the left below, for example. It boils down to a histogram simply being a tool to see how light behaves in a photo.
The histogram on the left is from a picture taken at night; the middle is a mid-afternoon photo; and the one on the right is the photo we’re editing now. Image: Maria Diaz / ZDNet
There’s a lot more to reading a histogram, but this is a place to start for Photoshop beginners. Adjusting Levels is a more advanced way to edit a photo, but it helps beginners become familiar with a histogram.
Step 4: Adjust Color Balance
Under Adjustments, select Color Balance to add an adjustment layer that lets you alter the colors on the photo. The picture I chose has a red tinge, since my five-year-old doesn’t know how to adjust the white balance on a camera. I’ll be using a Color Balance layer to help it look like it would to the naked eye.
I removed the reddish tint on the photo to make the planter the color it truly is to the naked eye. Image: Maria Diaz / ZDNet
This isn’t always necessary, as many cameras automatically tailor the white balance when a photo is taken — especially smartphone cameras. But it’s a great tool to learn for the times when it will be needed.
Step 5: Remove any unwanted spots
This has been a very popular request in my time using Photoshop and doing photography. There are a few ways to remove spots, but one of the most straightforward ones uses the Spot Healing brush and the Clone Stamp tool.
The Spot Healing Brush Tool
I removed the smaller scuff marks and water marks from the planter. Image: Maria Diaz / ZDNet
The Spot Healing Brush is an automatic tool to remove marks and blemishes just by clicking on them. It removes outstanding marks, basing the correction on what is around the spot you choose. To use it, first select Spot Healing Brush Tool from the toolbar on the left.
One way to remove unwanted marks on a photo is by using the Spot Healing Brush Tool. Image: Maria Diaz / ZDNet
Make sure the photo layer — not an adjustment layer like Levels or Color Balance — is selected on the right, and rasterize the layer if needed (right-click on the photo layer, select Rasterize Layer). Then just click on the blemishes that need to be removed on the photo.
The Clone Stamp Tool
Before and after removing the larger scuff and water marks on the photo. Image: Maria Diaz / ZDNet
The clone stamp tool is handy for larger marks that need removing, particularly on a smooth background. Make sure the photo layer is selected and rasterized, and select Clone Stamp Tool.
Select the Clone Stamp Tool to the left of the window. Image: Maria Diaz / ZDNet
On your photo, find a spot you’d like to replace the blemish with. If it’s on a smooth area, I typically pick a place right next to the blemish to avoid issues with shadows and highlights. Then click on it while pressing Alt or Alt Opt, and this will clone the spot. Move the cursor to the blemish you want to remove and click to stamp it.
I removed some scuff marks on the picture above but kept the larger drip mark for the sake of simplicity. It adds character, if you ask me.
This is obviously a condensed introduction to a very vast program, but it will help you familiarize yourself with Photoshop tools and navigation. Hopefully this how-to guide will inspire you to discover other adjustments in Photoshop.
FAQs
How can I zoom in or out on Photoshop?
The Zoom tool is on the left side of the window, in the toolbar. Click on the magnifying glass (or press Z on your keyboard) and the options at the top of the window will indicate + to zoom in on an image or – to zoom out, so you can select the one you need. Zooming is useful when you need to work closely or adjust small detail on an image.
Can I learn Photoshop in a week?
While you can learn the basics in a matter of a few days (with considerable trial and error), Photoshop is vastly rich in options and features. I’ve used it for close to two decades and am still learning new things. Adobe also updates it frequently, so new features are getting added all the time.
How much does Photoshop cost?
Adobe began offering software through the Creative Cloud in 2013. Since then, Photoshop and other Adobe software titles have become available as subscription-based offerings. Here’s a little more on their Photoshop subscription plans:
- Photoshop and Lightroom (20GB Cloud Storage) $9.99 per month
- Photoshop and Lightroom (1TB Cloud Storage) $19.99 per month
- Photoshop (100GB Cloud Storage) $20.99 per month
What is the difference between Photoshop and Photoshop CC?
Photoshop refers to the photo editing program itself; it is the software’s brand name. It also denotes a copy that was purchased as a standalone product. Photoshop CC or Creative Cloud is the subscription-based version of the software from Adobe available through your CC account.
For all the latest Technology News Click Here
For the latest news and updates, follow us on Google News.
Denial of responsibility! NewsBit.us is an automatic aggregator around the global media. All the content are available free on Internet. We have just arranged it in one platform for educational purpose only. In each content, the hyperlink to the primary source is specified. All trademarks belong to their rightful owners, all materials to their authors. If you are the owner of the content and do not want us to publish your materials on our website, please contact us by email – [email protected]. The content will be deleted within 24 hours.