How to propagate succulents from cuttings, leaves or pups
Knowing how to propagate succulents will give you an expansive indoor garden, free of charge. If you already know how to care for succulents, odds are your plant is healthy enough to propagate. By propagate, we’re referring to growing entirely new succulents off the back of your existing plants. There are several ways this can be done depending on the variety of succulent you own — some can produce from leaves or cuttings, while others grow pups.
But, what exactly needs to be done to get these baby succulents growing independently? The right steps must be taken because your new plants will be vulnerable when first separated. To help you out, we’ve created this comprehensive guide which covers everything you need to know about propagating succulents. Whether you’re handling cuttings, leaves or pups, we’ve got step-by-step instructions to take you through the process. Here’s how to propagate succulents.
How to propagate succulents
Before you start, know that propagating succulents never has a 100% success rate. Even if you’ve mastered how to repot succulents, cuttings don’t always survive and it may take a few attempts to be fruitful. Don’t let this deter you though — so long as you’re consistent, you will have new, healthy succulents growing in no time.
Cuttings
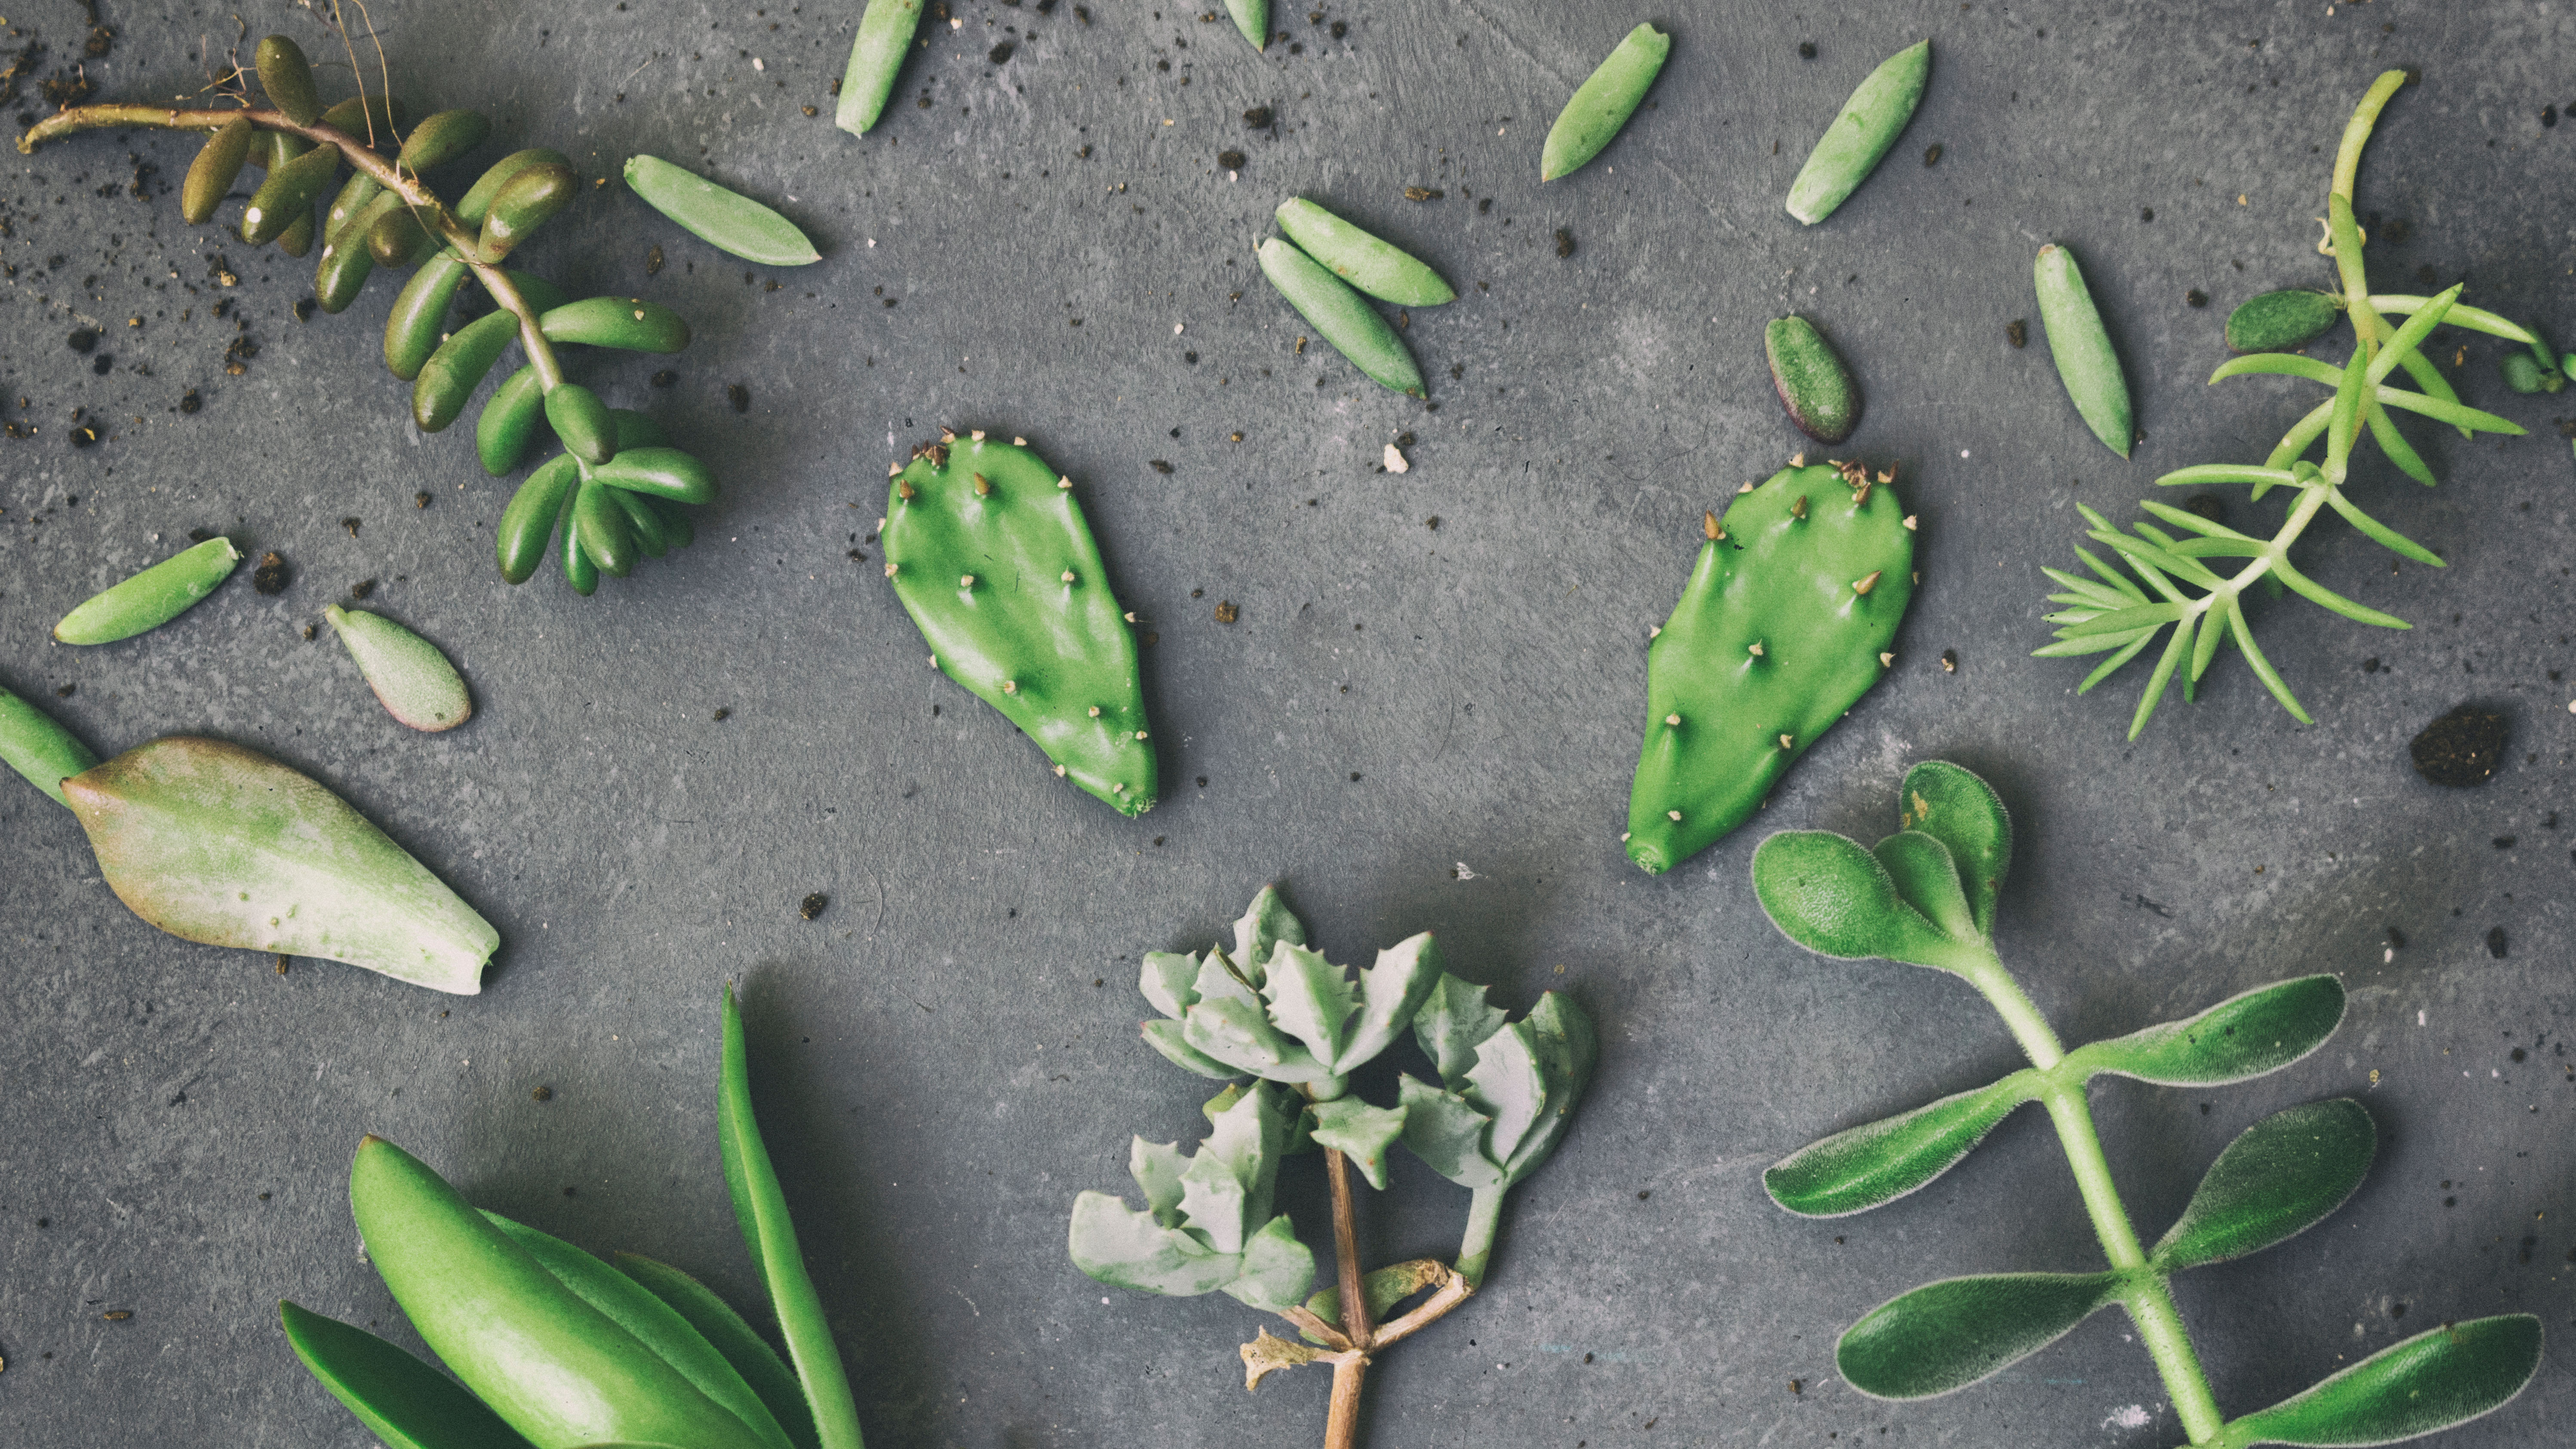
This refers to taking a cutting from the stem of the succulent. It can be useful for tidying up a plant which has grown too tall and unkempt over time. Most succulents can propagate using this method, including sedums and crassulas, but it’s particularly effective on those with thick and sturdy stems. Aeoniums can only propagate from cuttings.
1. Locate where you want to take the cutting from — First, you need to decide on the location of your cutting. This will be either from the tip of the succulent, or from an offshoot if preferred.
2. Find your shears — Next you’re going to want to find a pair of the best pruning shears (make sure you’re using a bypass design). It’s a good idea to disinfect the blades before use as well for risk of spreading disease to your succulents. All you need is a cloth soaked in denatured alcohol to do this.
Forgetting to disinfect the blades is just one of the 7 pruning mistakes you never knew you were making.
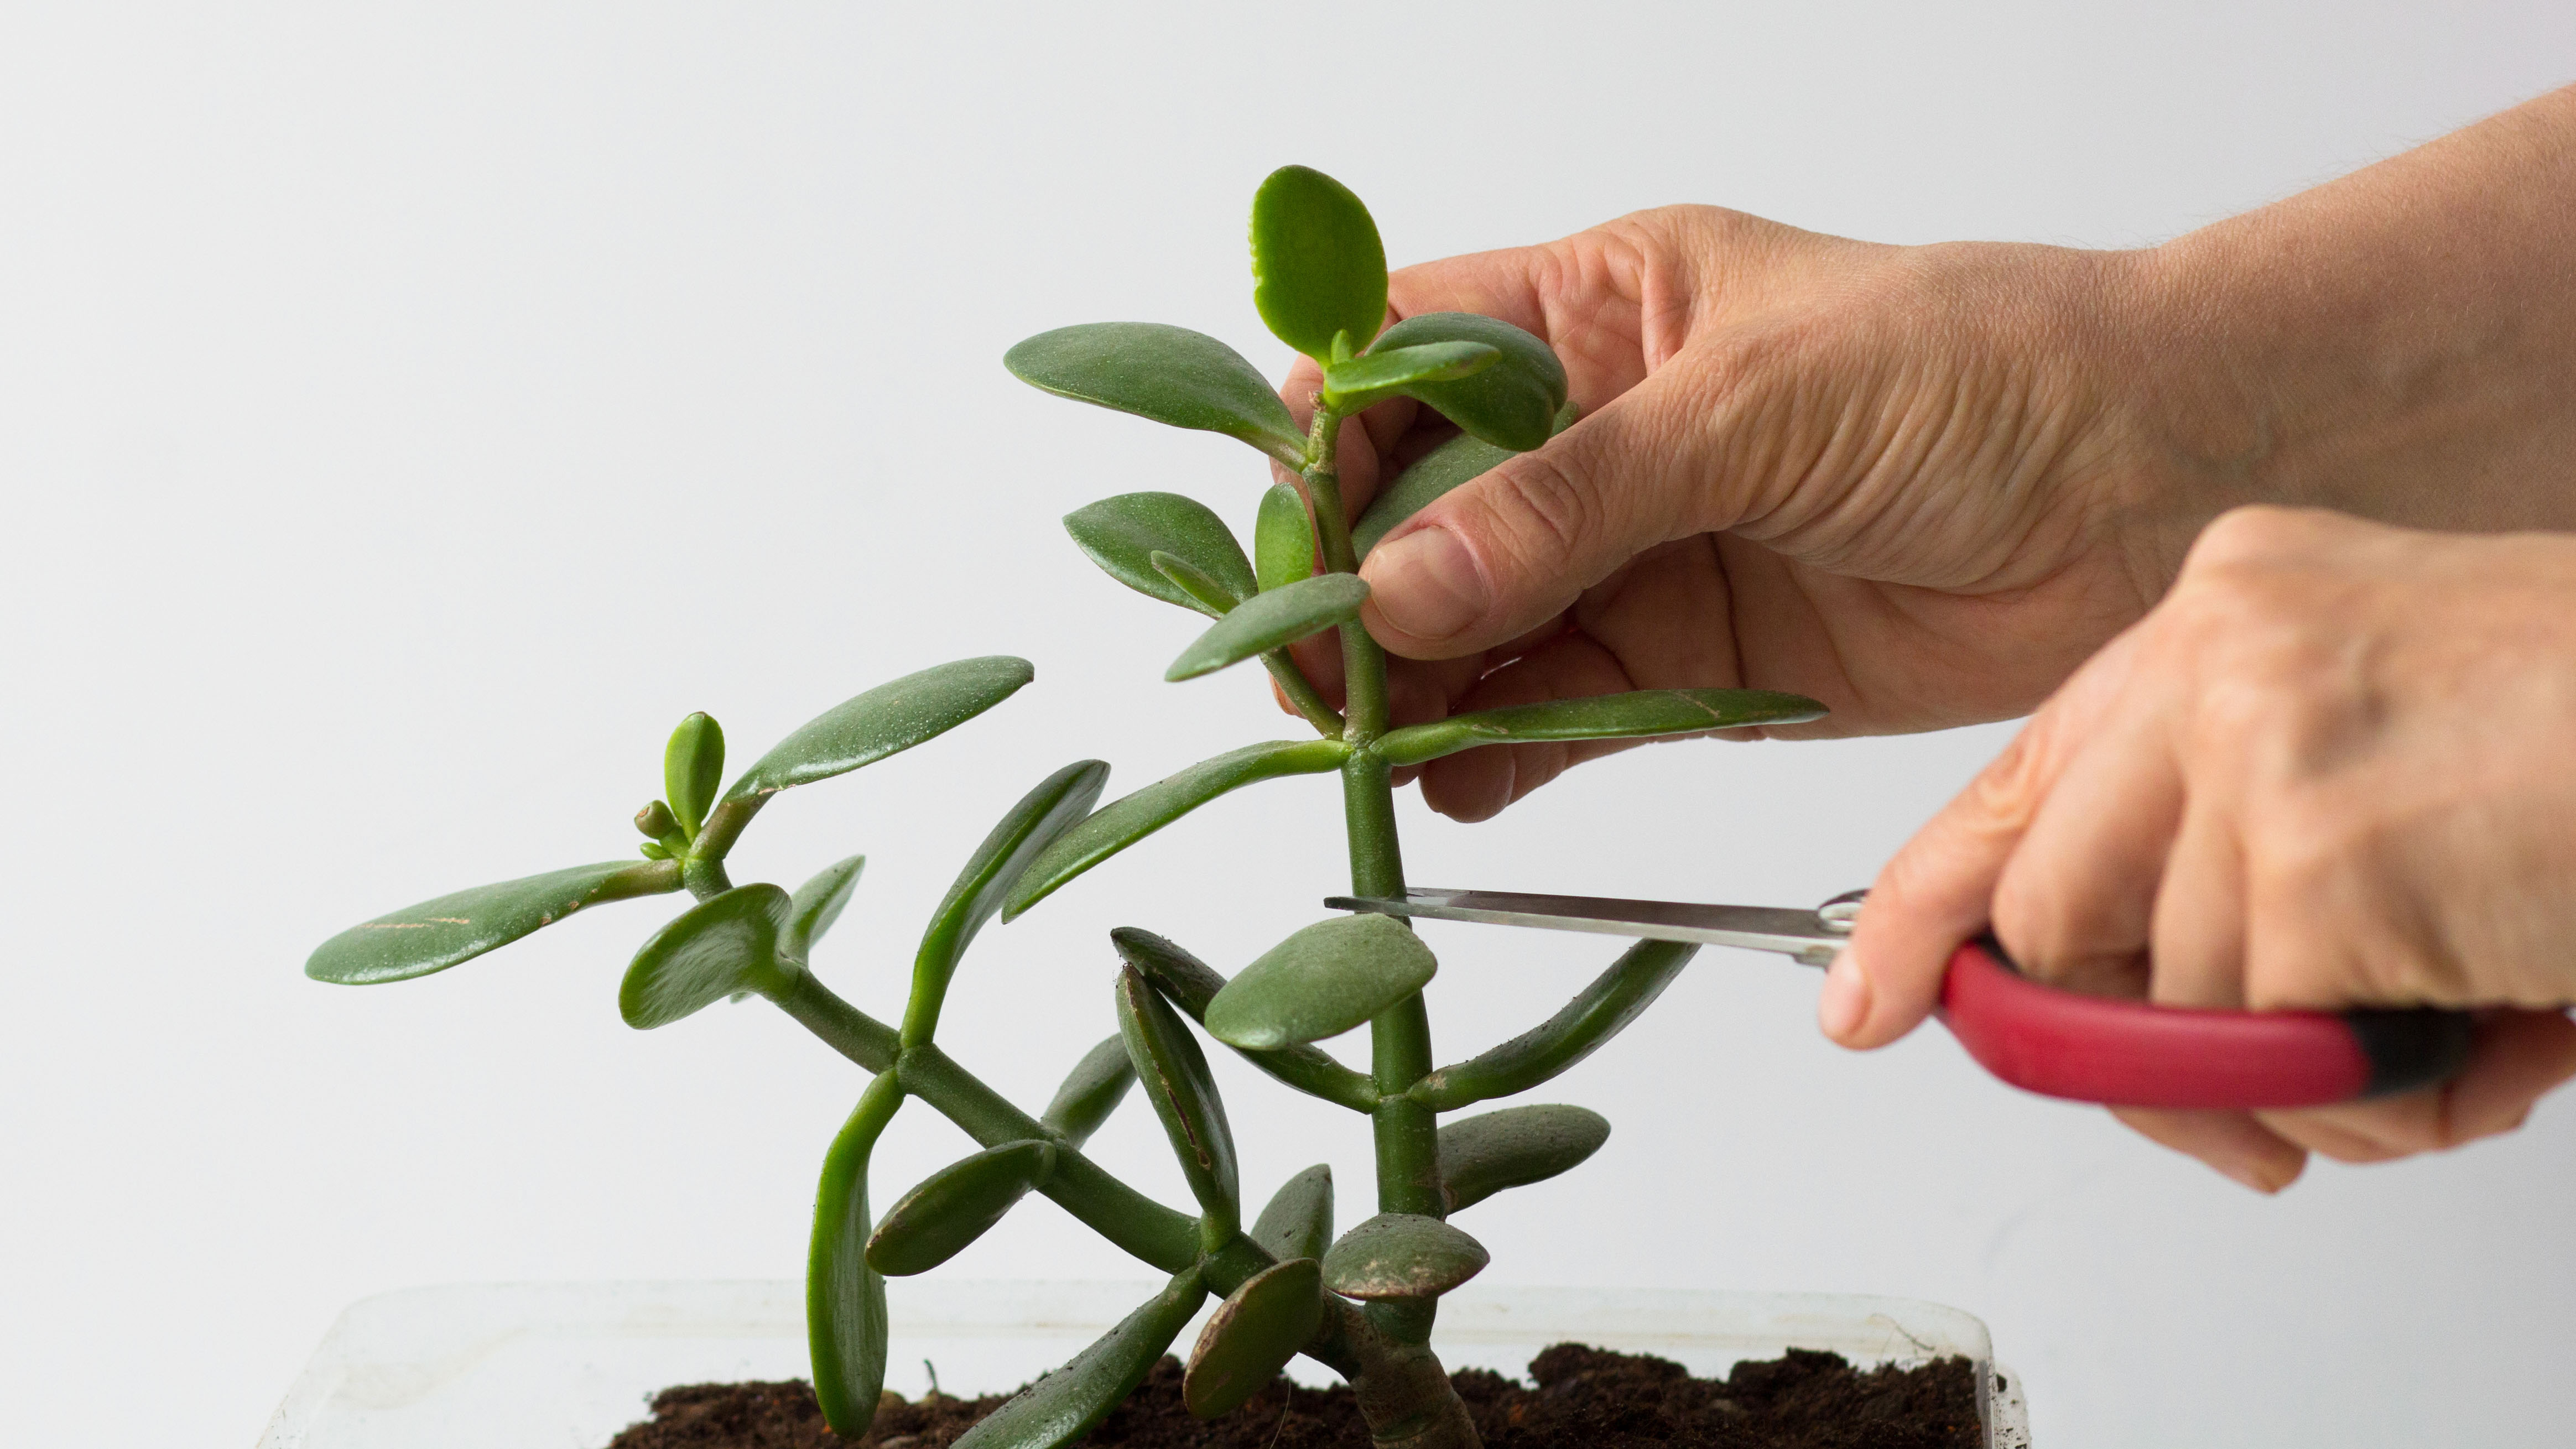
3. Make the cut — Now comes the main event. Take your pruning shears and cut away your cutting. You can either take just the tip off your plant, or remove more from the stem if you want several cuttings. In any case, cut just above a leaf at a 45-degree angle. Each cutting should be about 2-3 inches in length, with a few leaves growing up the stem. Bear in mind you will be planting this in soil, so you may need to remove a couple of the lower leaves in advance.
4. Leave it to dry — It might sound crazy considering how vulnerable your cutting is right now, but you need to leave it to dry out. You essentially want the cut part of the stem to form a callous as it dries, which can take 3-4 days. It may take less or longer than this depending on the heat your succulent is subjected to, so keep an eye on it.
This step is important because otherwise your succulent will take on too much moisture once planted and rot. If you notice your cutting is starting to shrivel, that’s a sign that it needs planting.
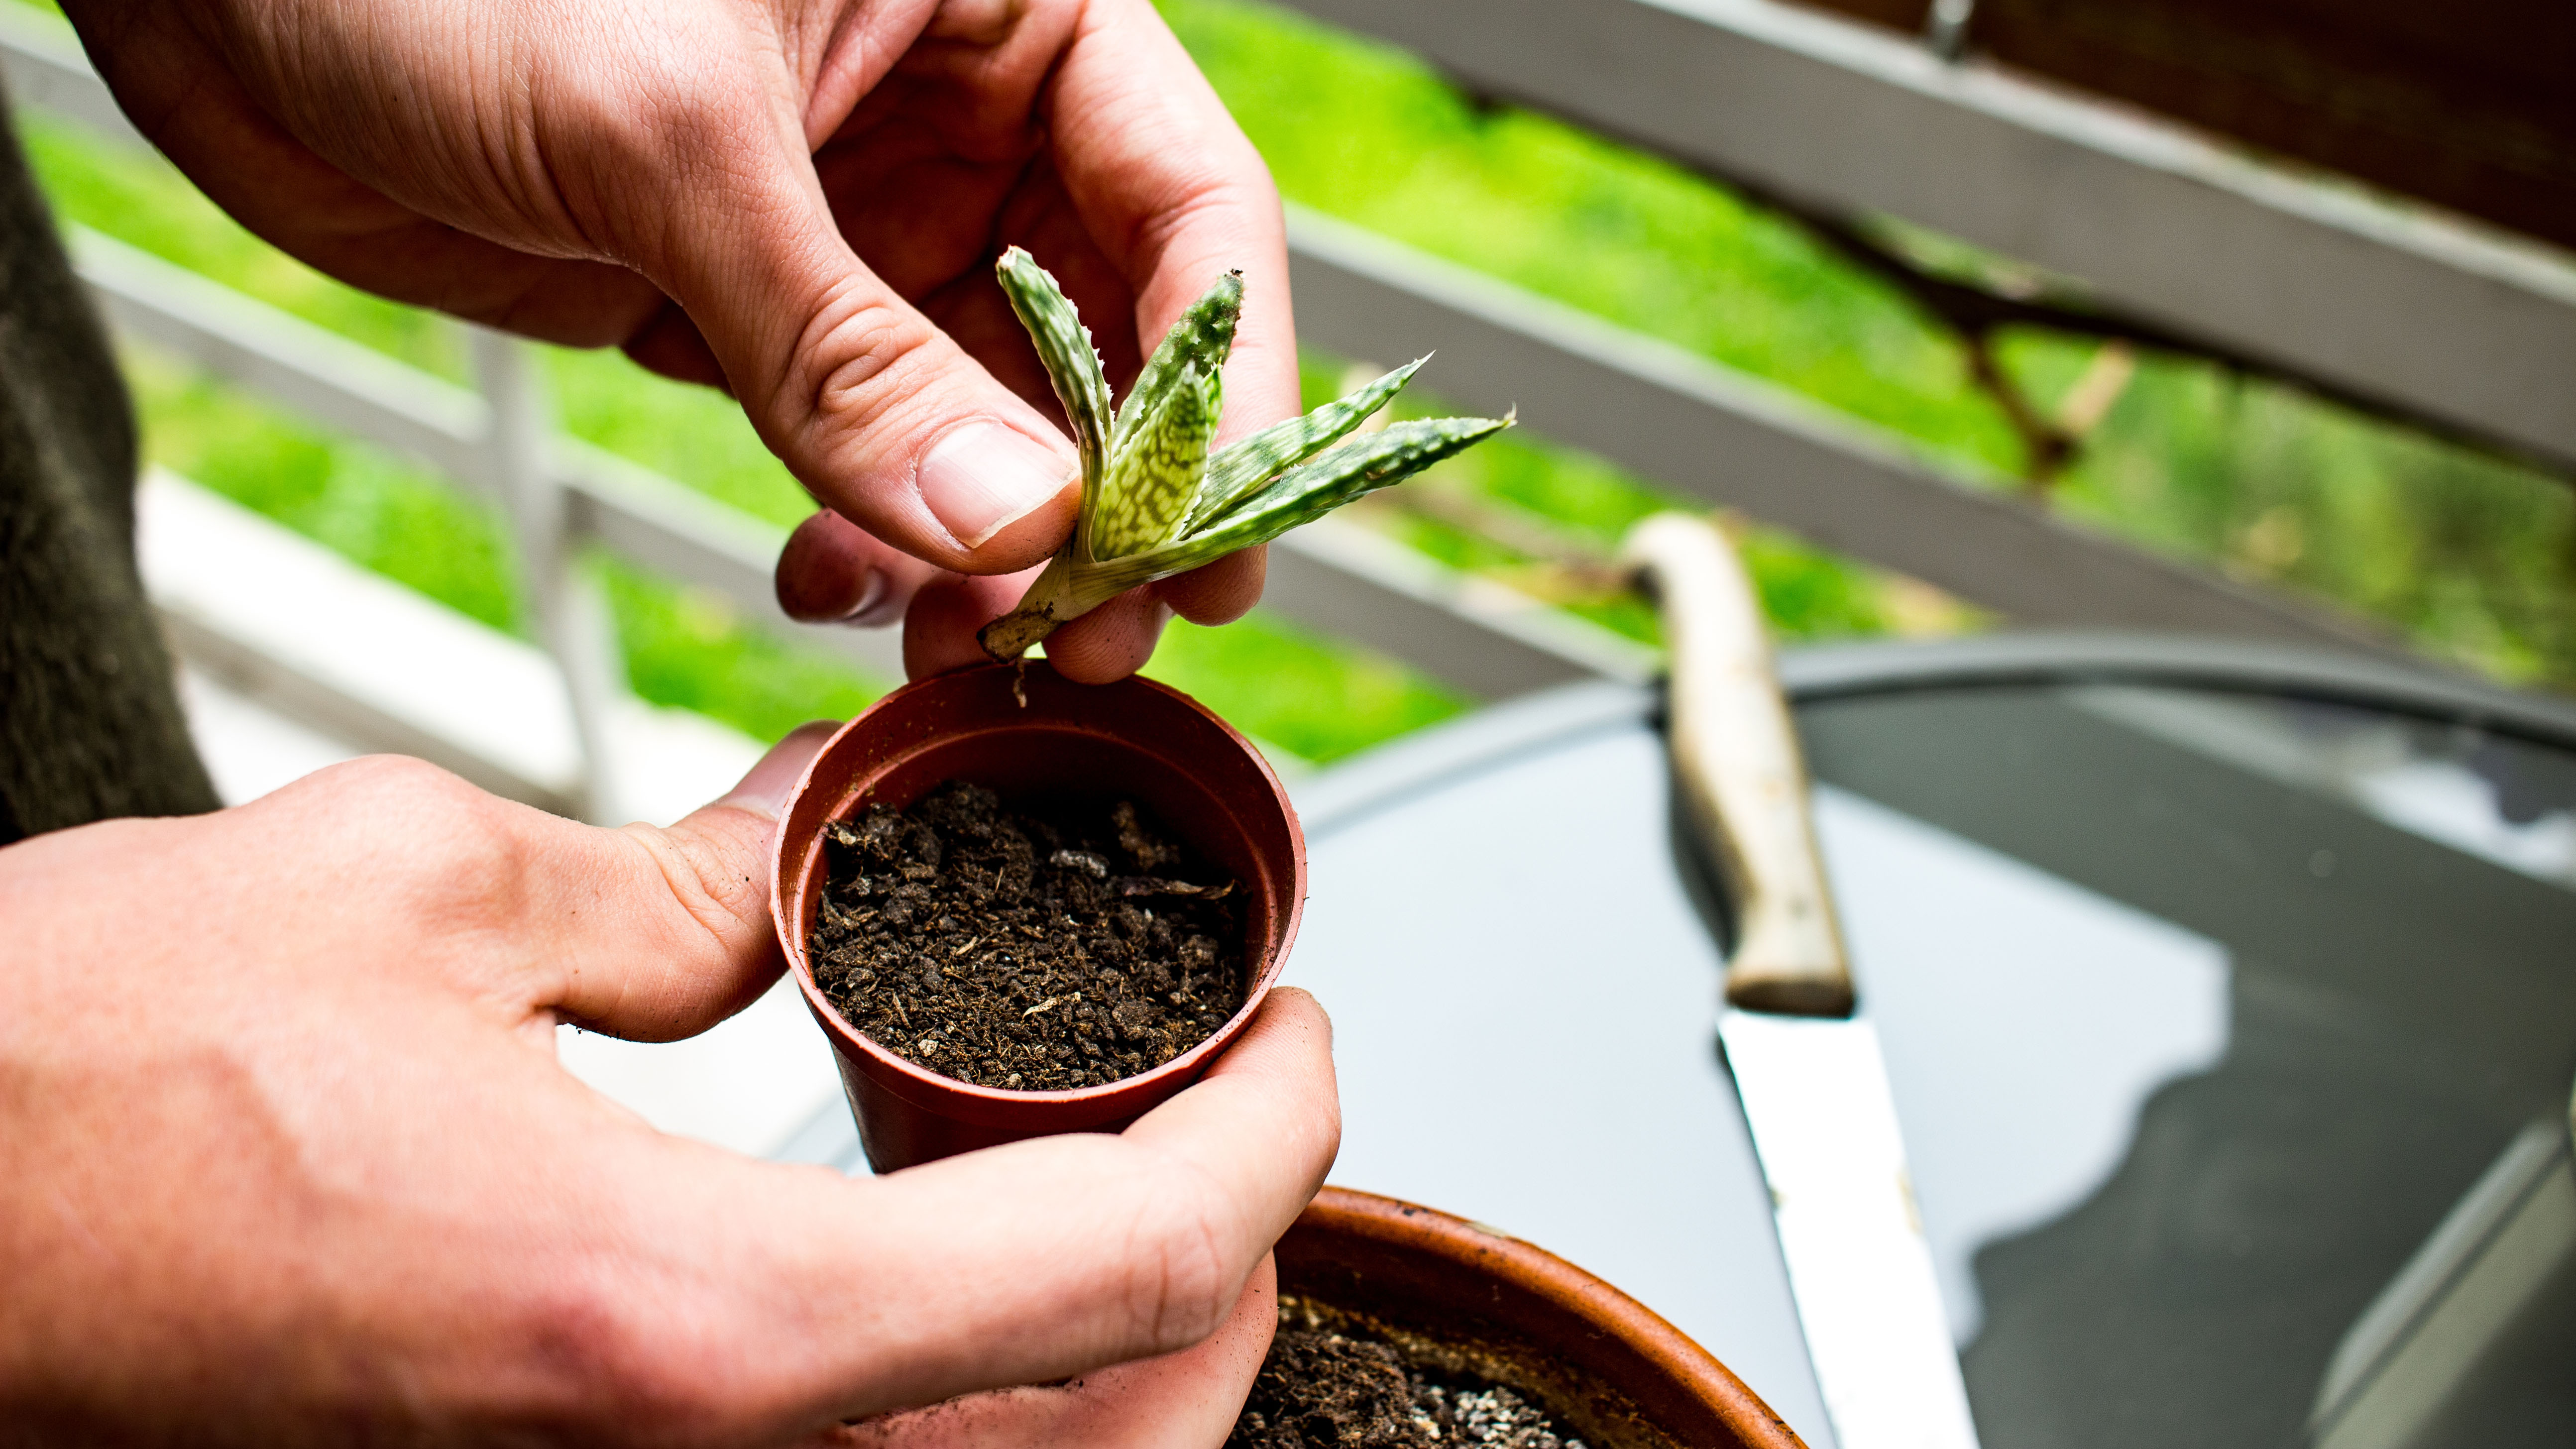
5. Plant your new succulent — The time has now come to move your cutting to its new home. Your cutting will need to be planted in dedicated fast-draining succulent soil, such as Miracle-Gro Succulent Potting Mix ($12.99, Amazon (opens in new tab)). Likewise, make sure the pot has drainage holes so the water can run through and collect in a tray.
At first, it will need watering more regularly than mature succulents, so you should keep an eye on the soil. When the top two inches of soil feels dry, water it. If successful, your cutting will soon sprout roots and begin to grow.
Leaves
You can also propagate succulents from the leaves. This works best on plants with thick, substantial leaves which are filled with moisture, such as jade plants and echeverias. It’s worth noting that some succulents can propagate from both cuttings and leaves, so you can choose your desired method.
1. Water your succulent — You’re going to want your leaves to be filled with moisture before attempting to propagate them, so water your succulent a few days beforehand.
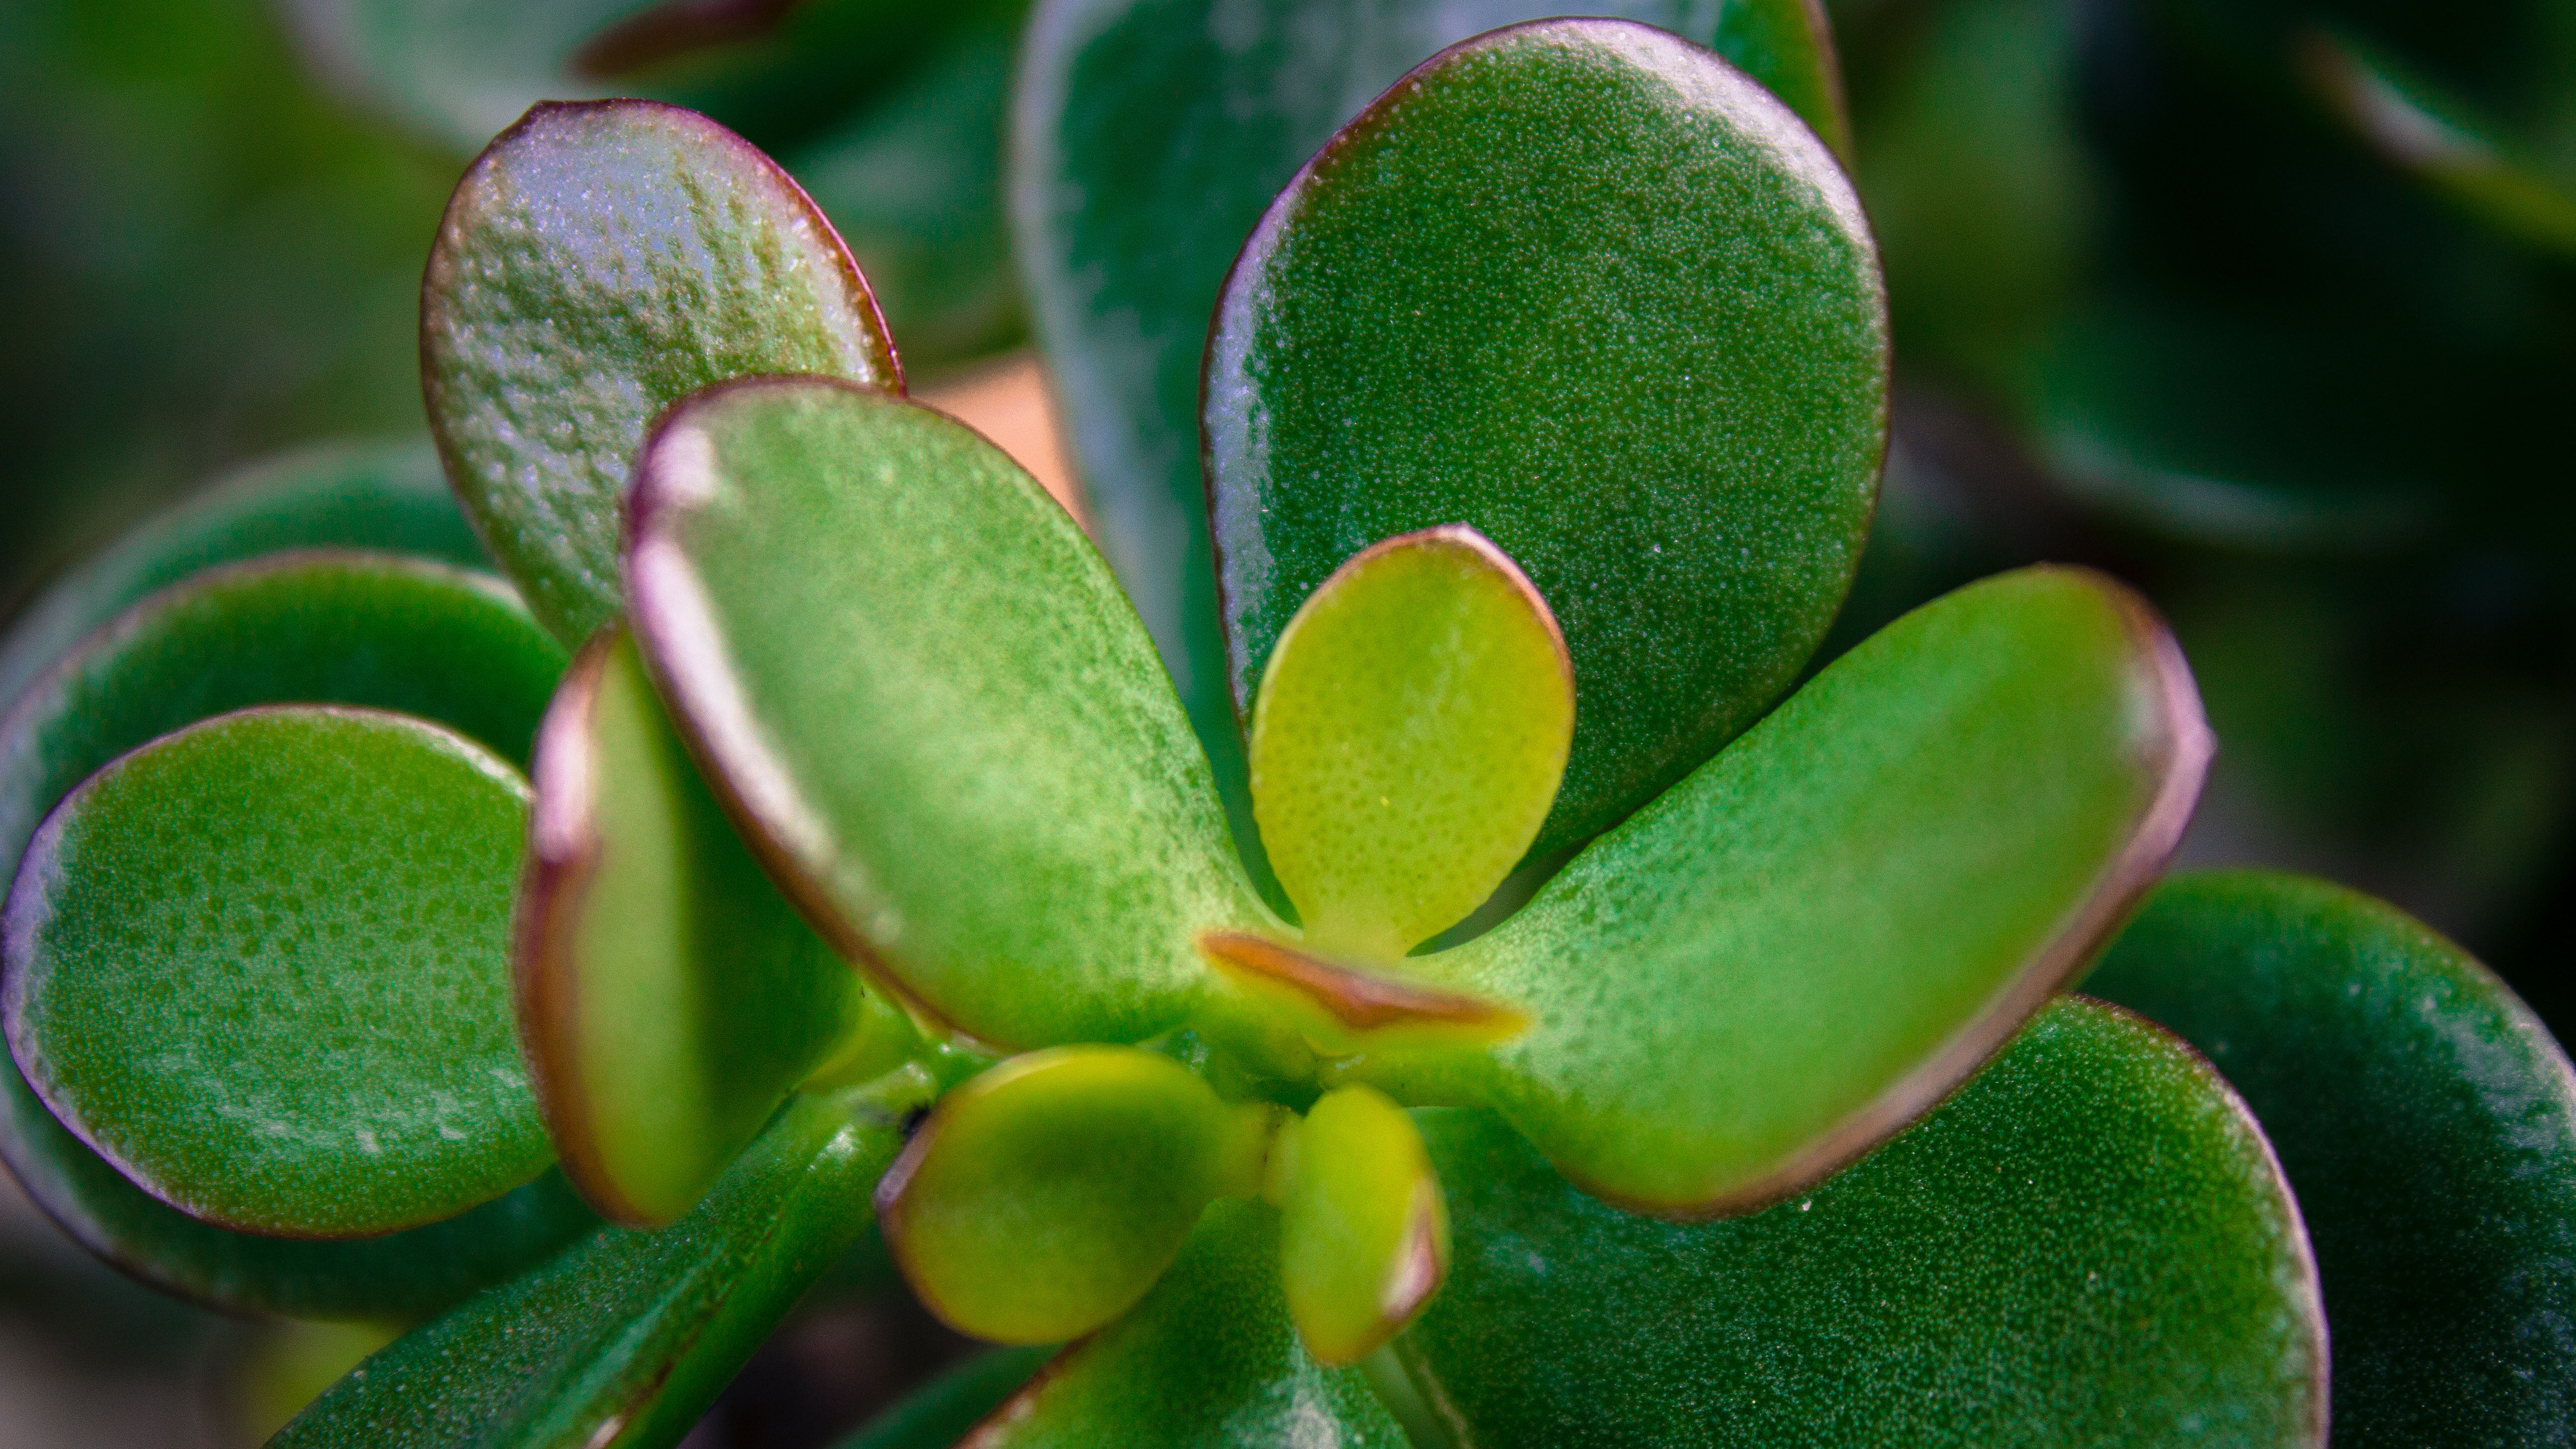
2. Choose your leaves — Select only the strongest leaves for propagation. They should be thick, healthy and filled with moisture. Avoid premature leaves or ones which show signs of rot as these are not likely to survive.
3. Remove your leaves — No tools are needed for this job. You simply twist each leaf individually to break it away from the stem. Be gentle as you twist and make sure you remove the whole leaf. Don’t leave anything behind, otherwise your leaf won’t take root. Don’t worry if you tear away a piece of the stem; both plants will survive. Make sure you have a good view of the stem during this process, so you don’t waste any leaves.
4. Leave to dry — Just like the cuttings, you’re going to have to wait for the leaves to form a callous layer over the exposed skin before planting. Drying out usually takes 3-4 days, but keep checking the progress as this isn’t set in stone.
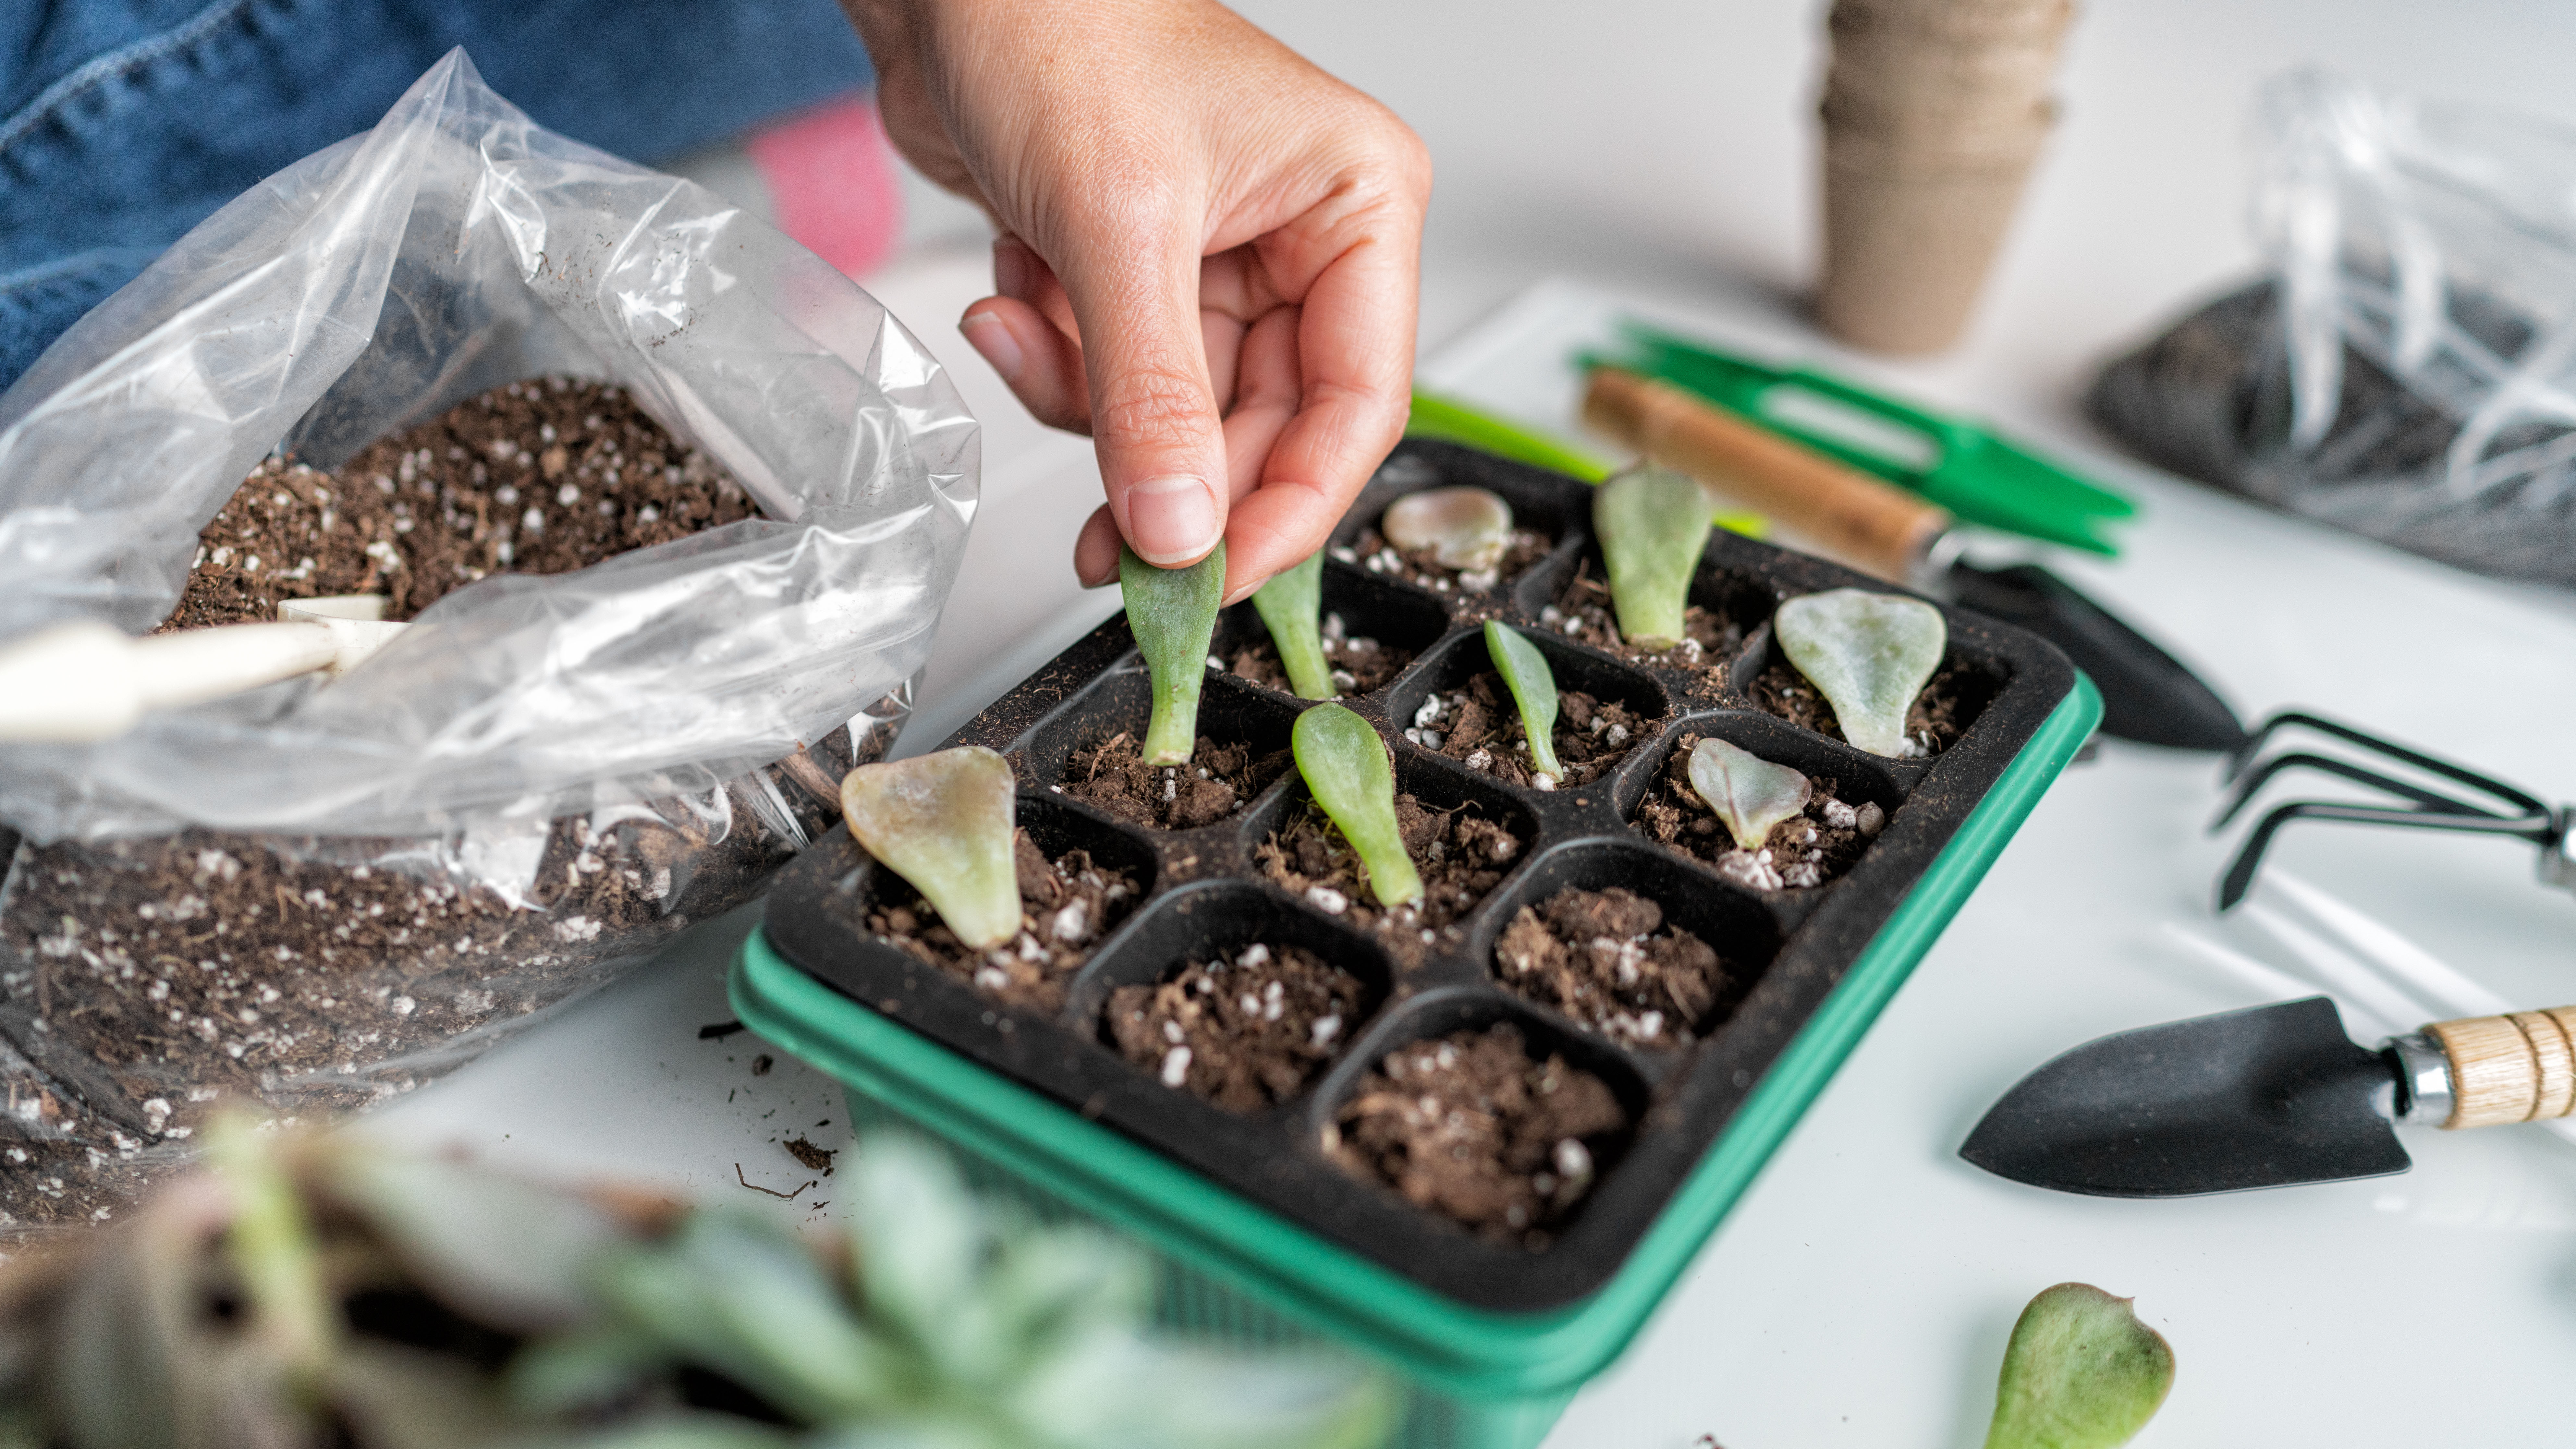
5. Plant your leaves — Once your leaves are ready to plant, you’re going to want to get a tray with drainage holes and fill it with dedicated succulent soil, as mentioned above. Moisten the soil and then lay your leaves on top. You can either leave the calloused end exposed or slightly buried in the soil, it’s up to you.
The regularity of watering your leaves will likely depend on the conditions of your home. But, so long as you give the leaves access to moisture when the soil dries out, you’ve got the best chance.
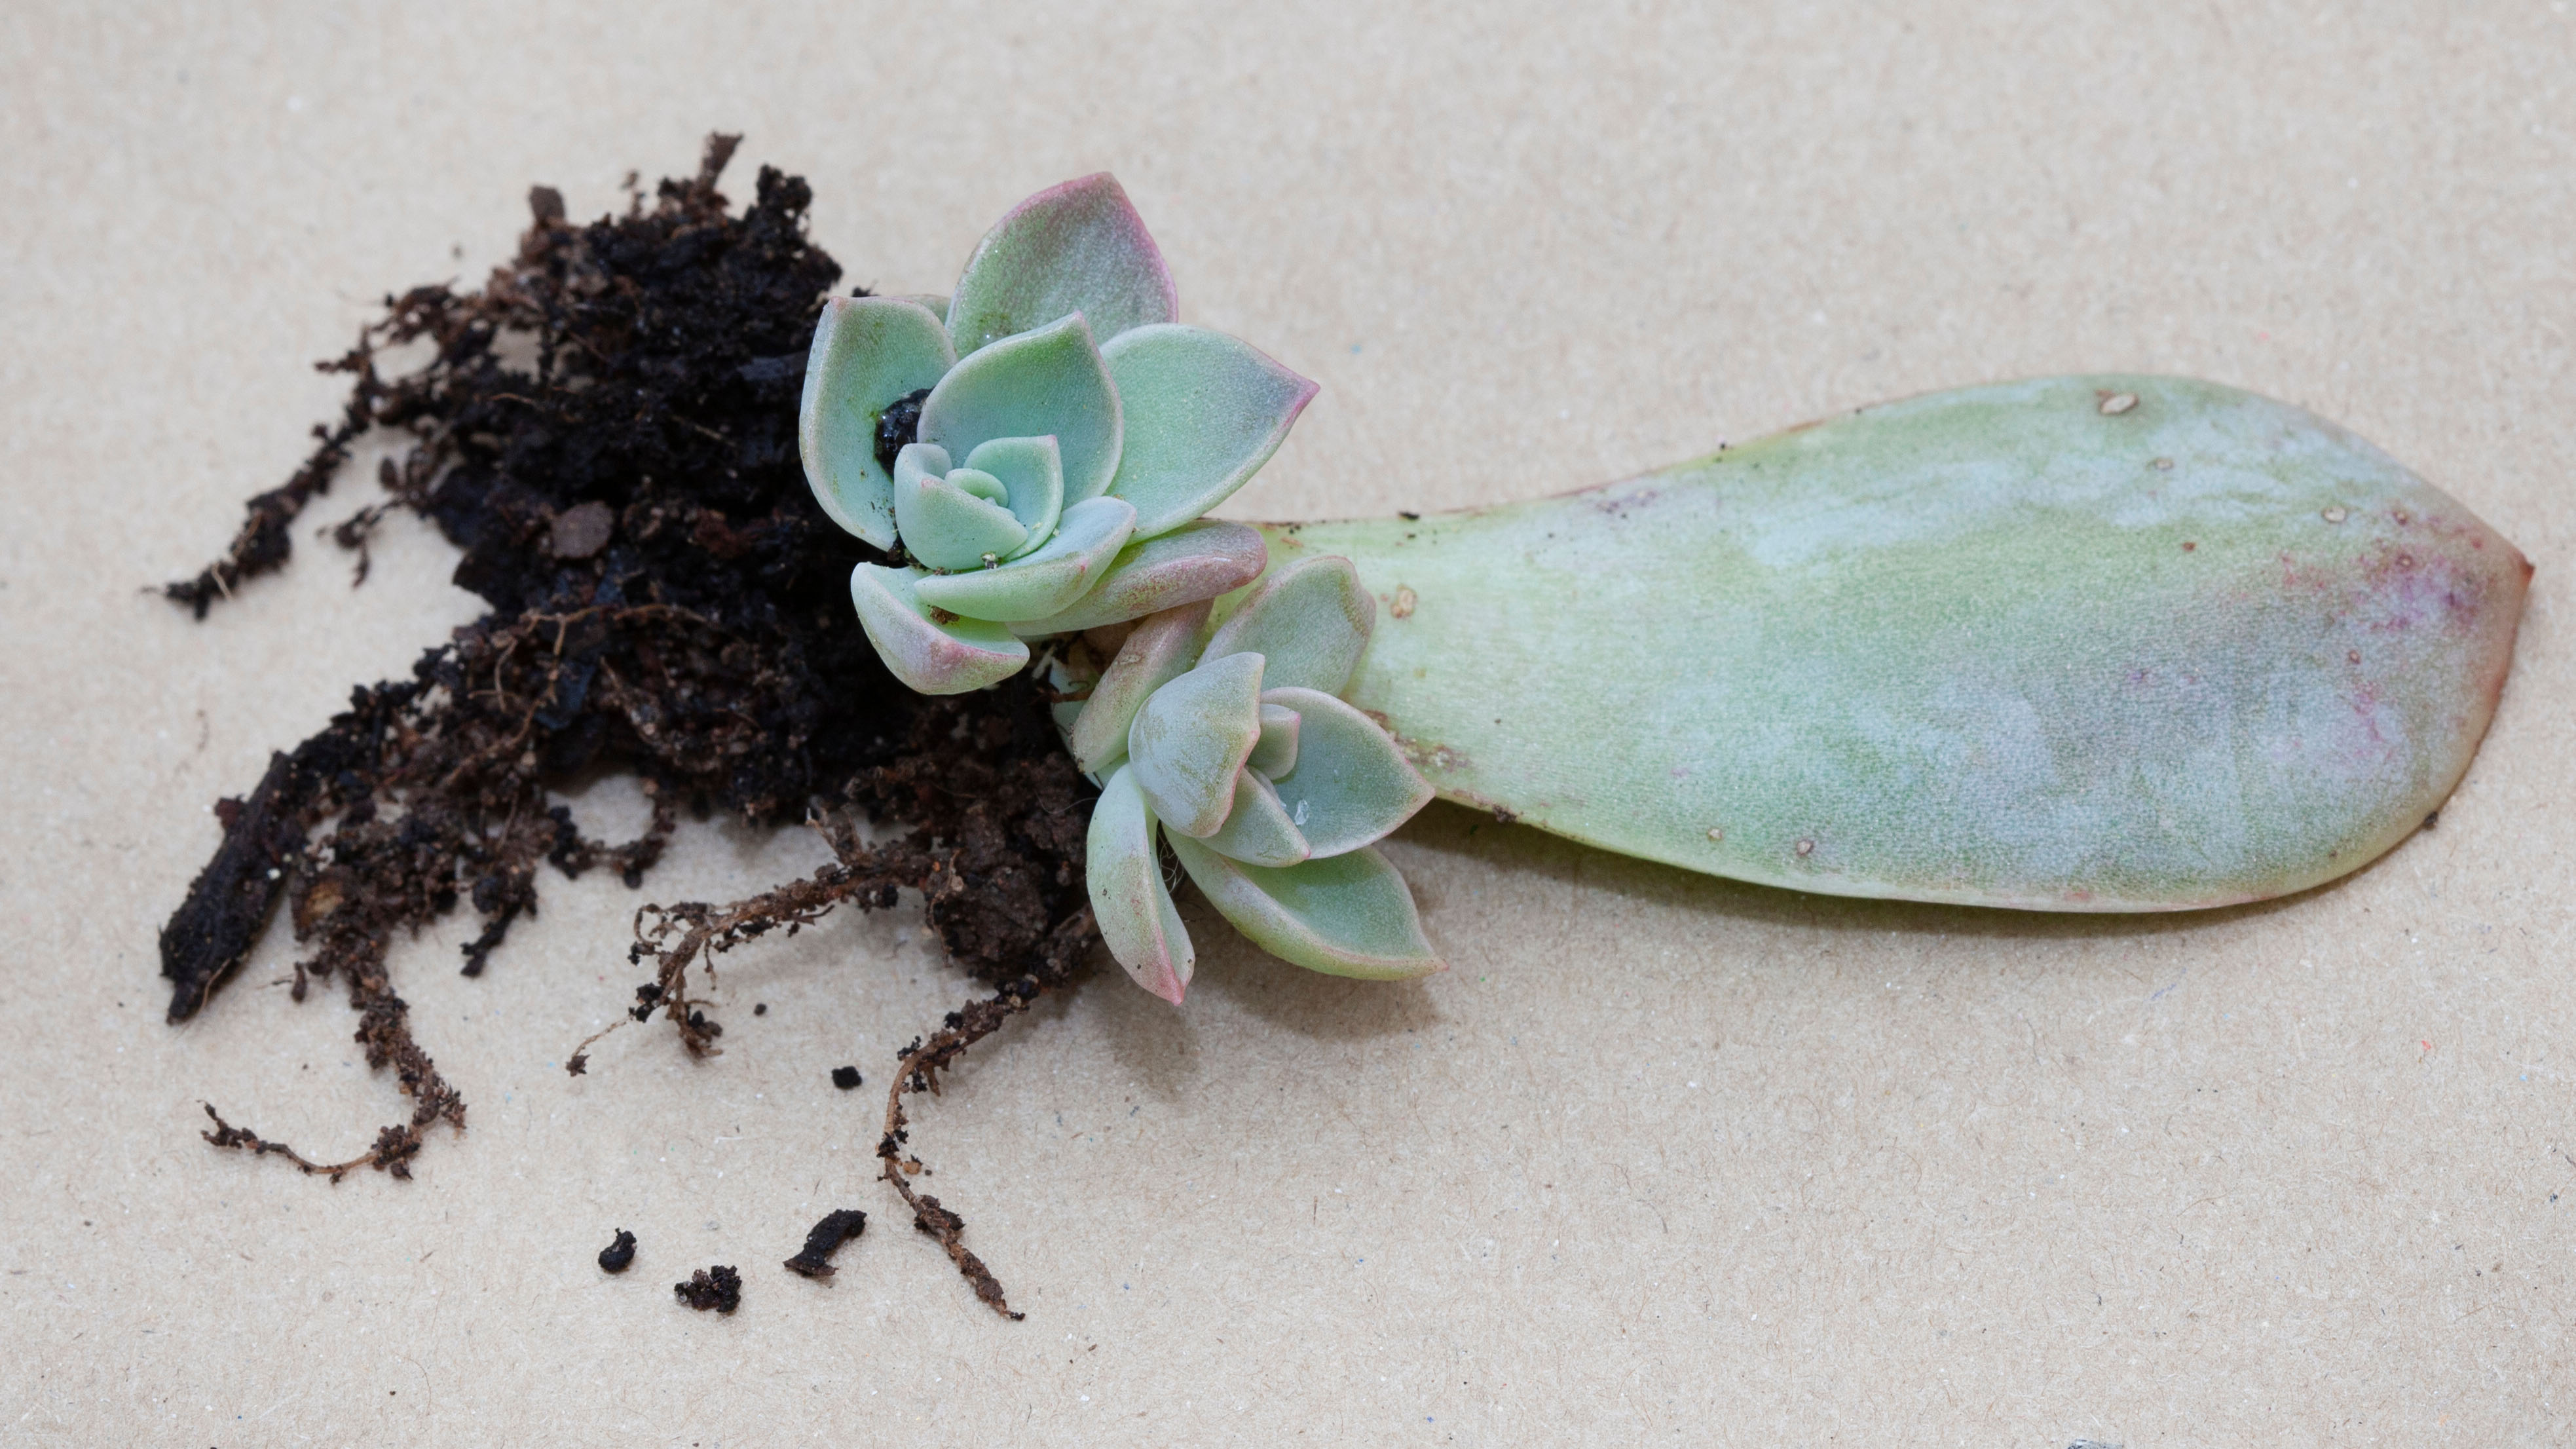
6. Watch your succulent grow — It may take a few weeks or longer, but your leaves should sprout roots and mini succulents all too soon. Once it reaches this stage, make sure your new succulents have plenty of access to indirect sunlight and water for the best growth. You will be able to grow your pups independently from the leaves down the line. This can take a couple of months.
Pups
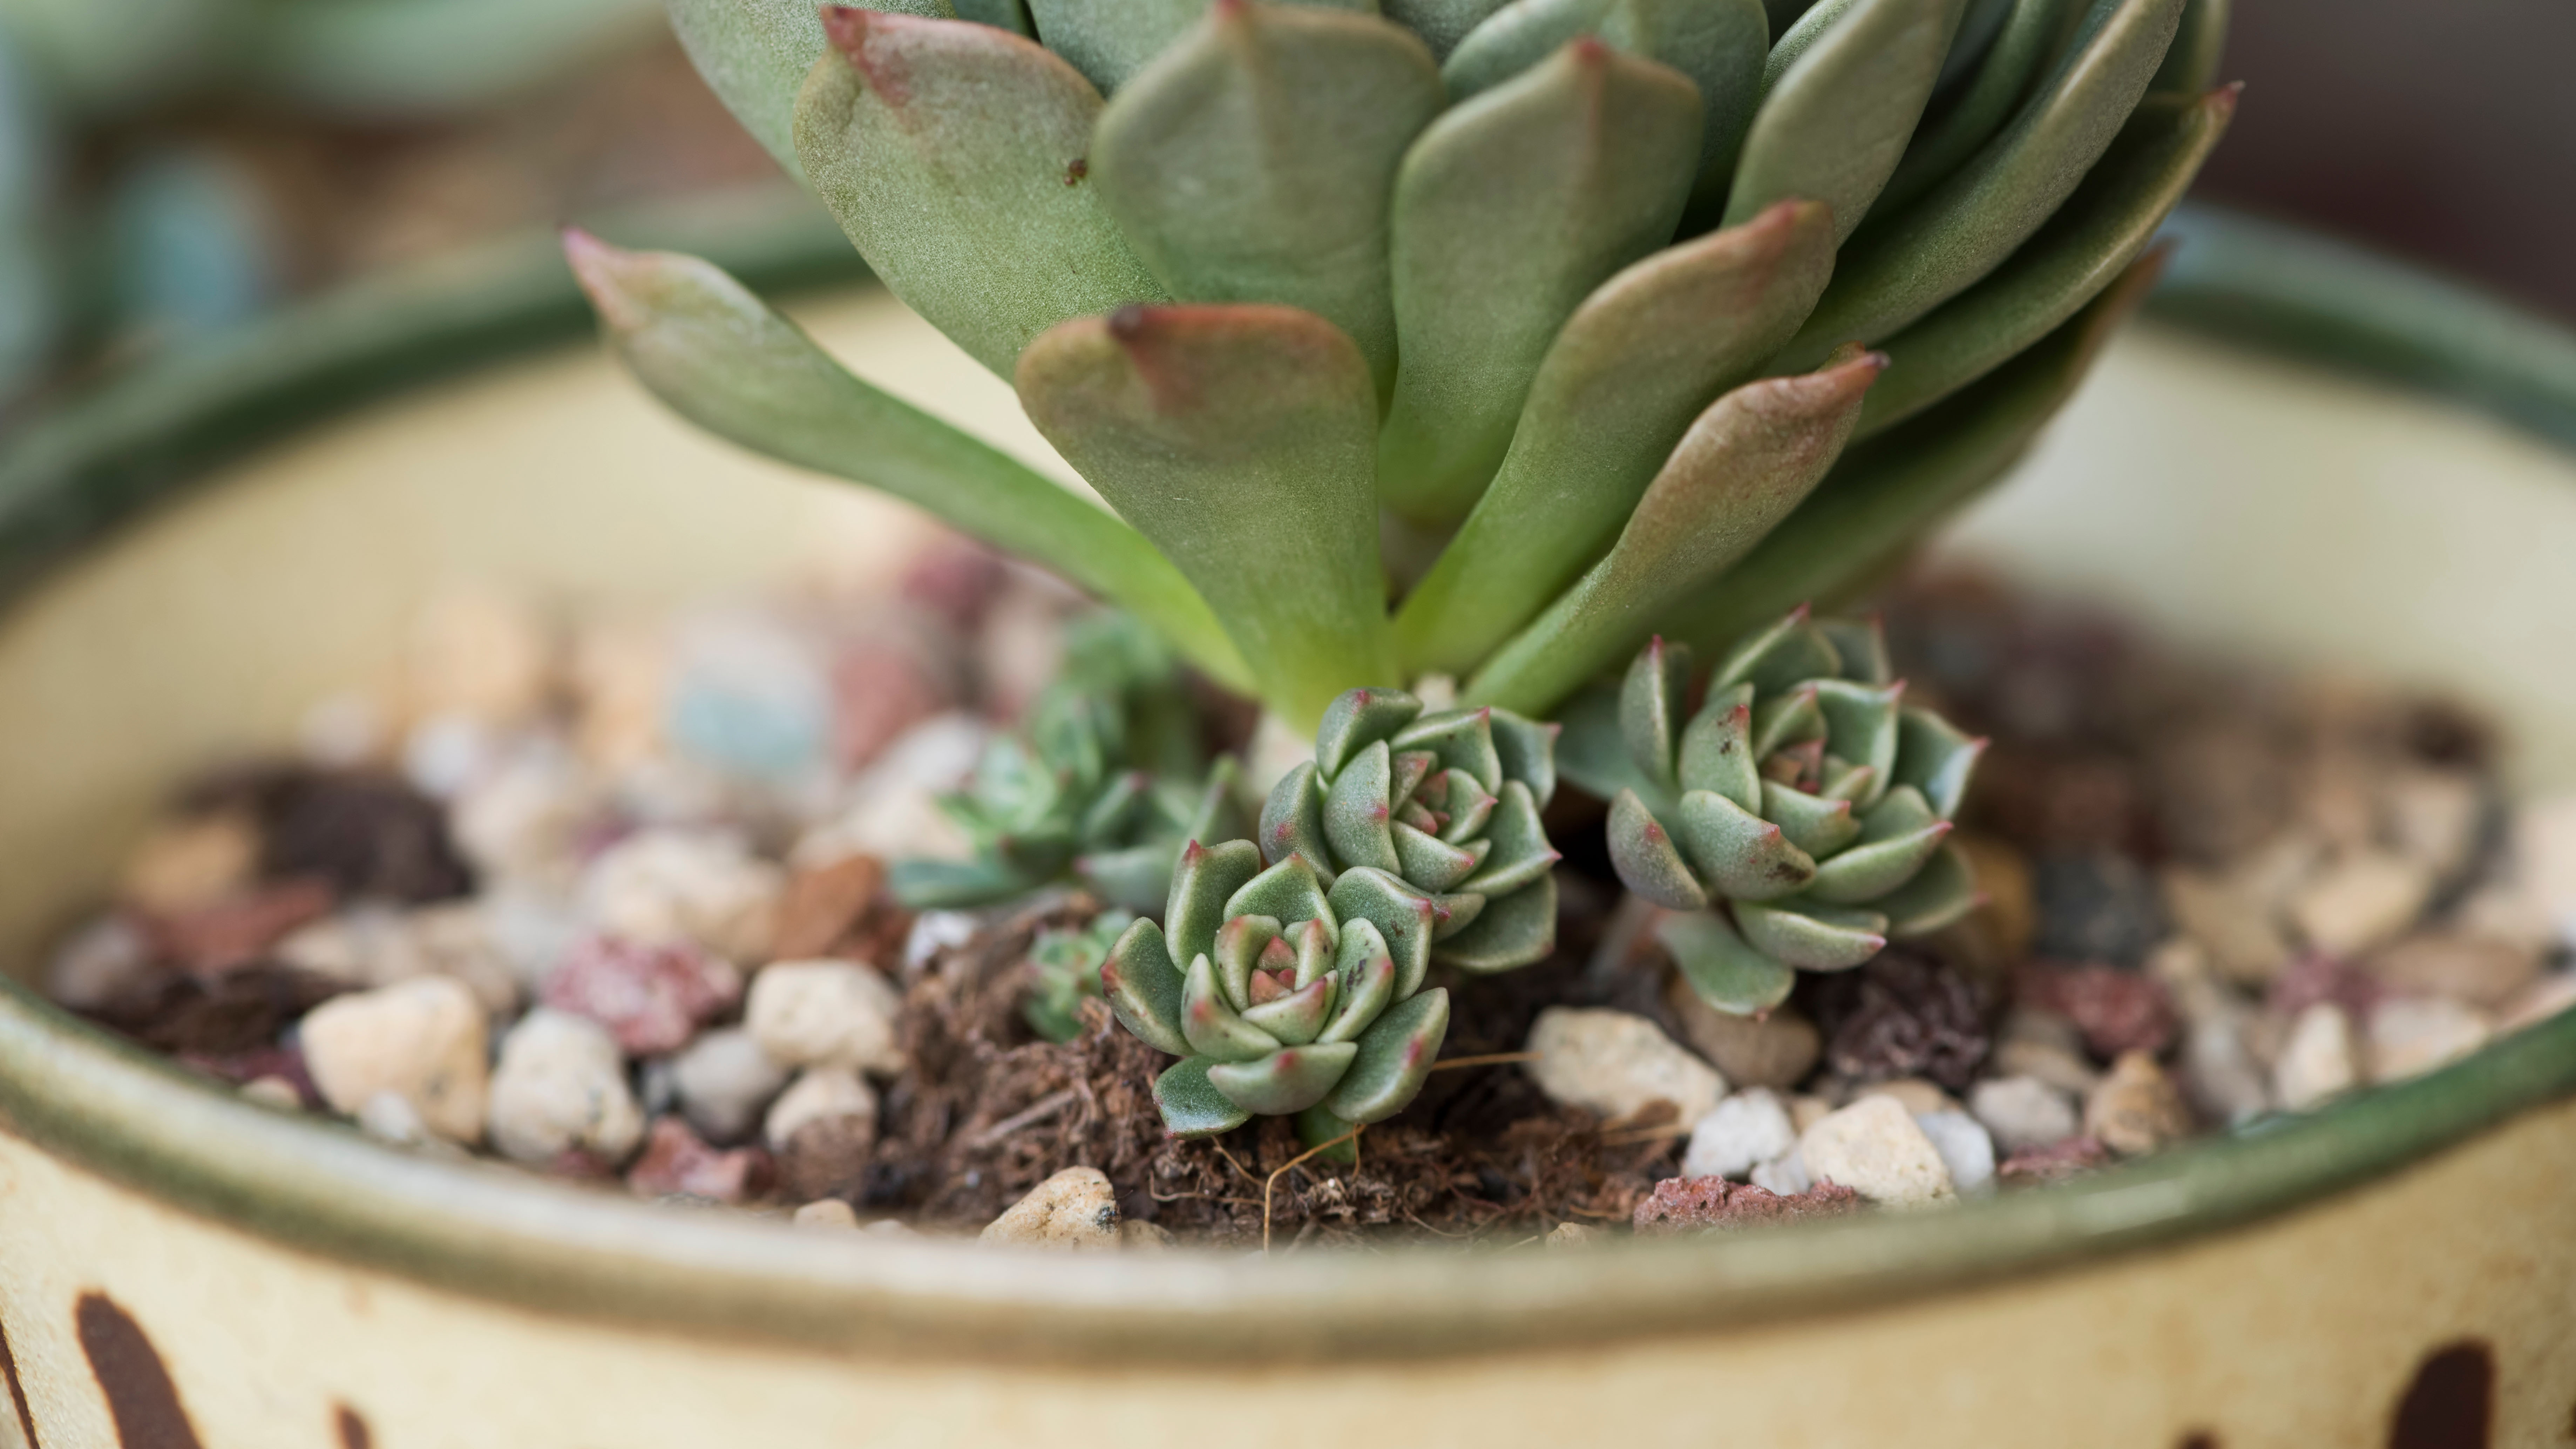
Pups refers to baby succulents which can either grow directly on some mature succulents, such as Haworthia and Aloe, or these can be produced from propagating leaves as mentioned above. Once these are large enough, pups can be separated and planted to grow an independent and healthy succulent.
1. Decide when your pup is ready — It can take months for your pups to grow to a suitable size for propagation, so you need to be patient. Generally, wait until your pups are about 1 inch in diameter before removal from the parent plant. If you’re raising pups from leaves, it’s time to plant them once the main leaf dies and falls off, which can take a couple of months. If you’ve raised pups from leaves you can skip straight to step 4.
2. Cut the pup free — To cut the pup free from the parent plant, use a pair of bypass pruning shears. Disinfect the blades and then make a cut just under the pup’s stem, being sure not to damage any roots as you do this.
3. Leave to dry — Just like all of the other cuttings we’ve covered, you need to leave the pup to callous over and dry out. Wait for a few days and keep an eye on its progress.
4. Plant your pup — Now, your pup is ready for its forever home. Grab an adequate pot which features draining holes and plant your pup with dedicated succulent soil. Give your pup access to indirect sunlight and water it often to start with. Once every couple of days should suffice — just make sure your pup has access to moisture when the soil dries out.
For more planting tips, tricks and how tos, check out how to care for air plants and how to care for a spider plant. Be sure to also check out how to prune roses and how to prune tomato plants.
For all the latest Technology News Click Here
For the latest news and updates, follow us on Google News.
