How to clean an air fryer and get rid of baked-on grease
Air fryers are a brilliant investment if you love fresh and crispy food, but want to keep things healthy(ish). These popular appliances can fry all sorts of dishes quickly, with just a fraction of the oil you would use otherwise.
With regular use, air fryers will gradually get caked with grease from everything you cook, from French fries to chicken wings. The best air fryers will come with dishwasher-safe parts so you can keep on top of the maintenance, but how do you give an air fryer a deep clean? Here we breakdown what you should do if your air fryer has seen better days, whether it’s traditional or oven-style.
How often should you clean your air fryer?
You should clean your air fryer after every use. Even if the basket or racks look clean, make sure you wash them as grease can be difficult to see.
What you will need
Dish soap
Microfiber cloths
Sponge
Soft-bristled brush
Toothbrush (optional)
Baking soda (optional)
If you notice the casing itself needs to be cleaned, or there’s burnt-on grease, that’s when you need to spend some time to thoroughly clean it. If your air fryer is starting to smell when you cook, that’s another sign that it needs some attention. If you use your air fryer daily, then deep-cleaning once a month is best.
How to clean an air fryer
1. First of all, follow what your manufacturer recommends. Check your manual and see if there’s any advice on how to clean your air fryer. If steps are given, you should follow them to avoid invalidating the warranty.
2. If no advice is given, the first thing you should do is unplug the air fryer and let it cool completely. The basket/racks will be extremely hot after frying and you could easily burn yourself. If you want to speed up the cooling process, you can carefully remove the basket or racks and leave them in the sink.

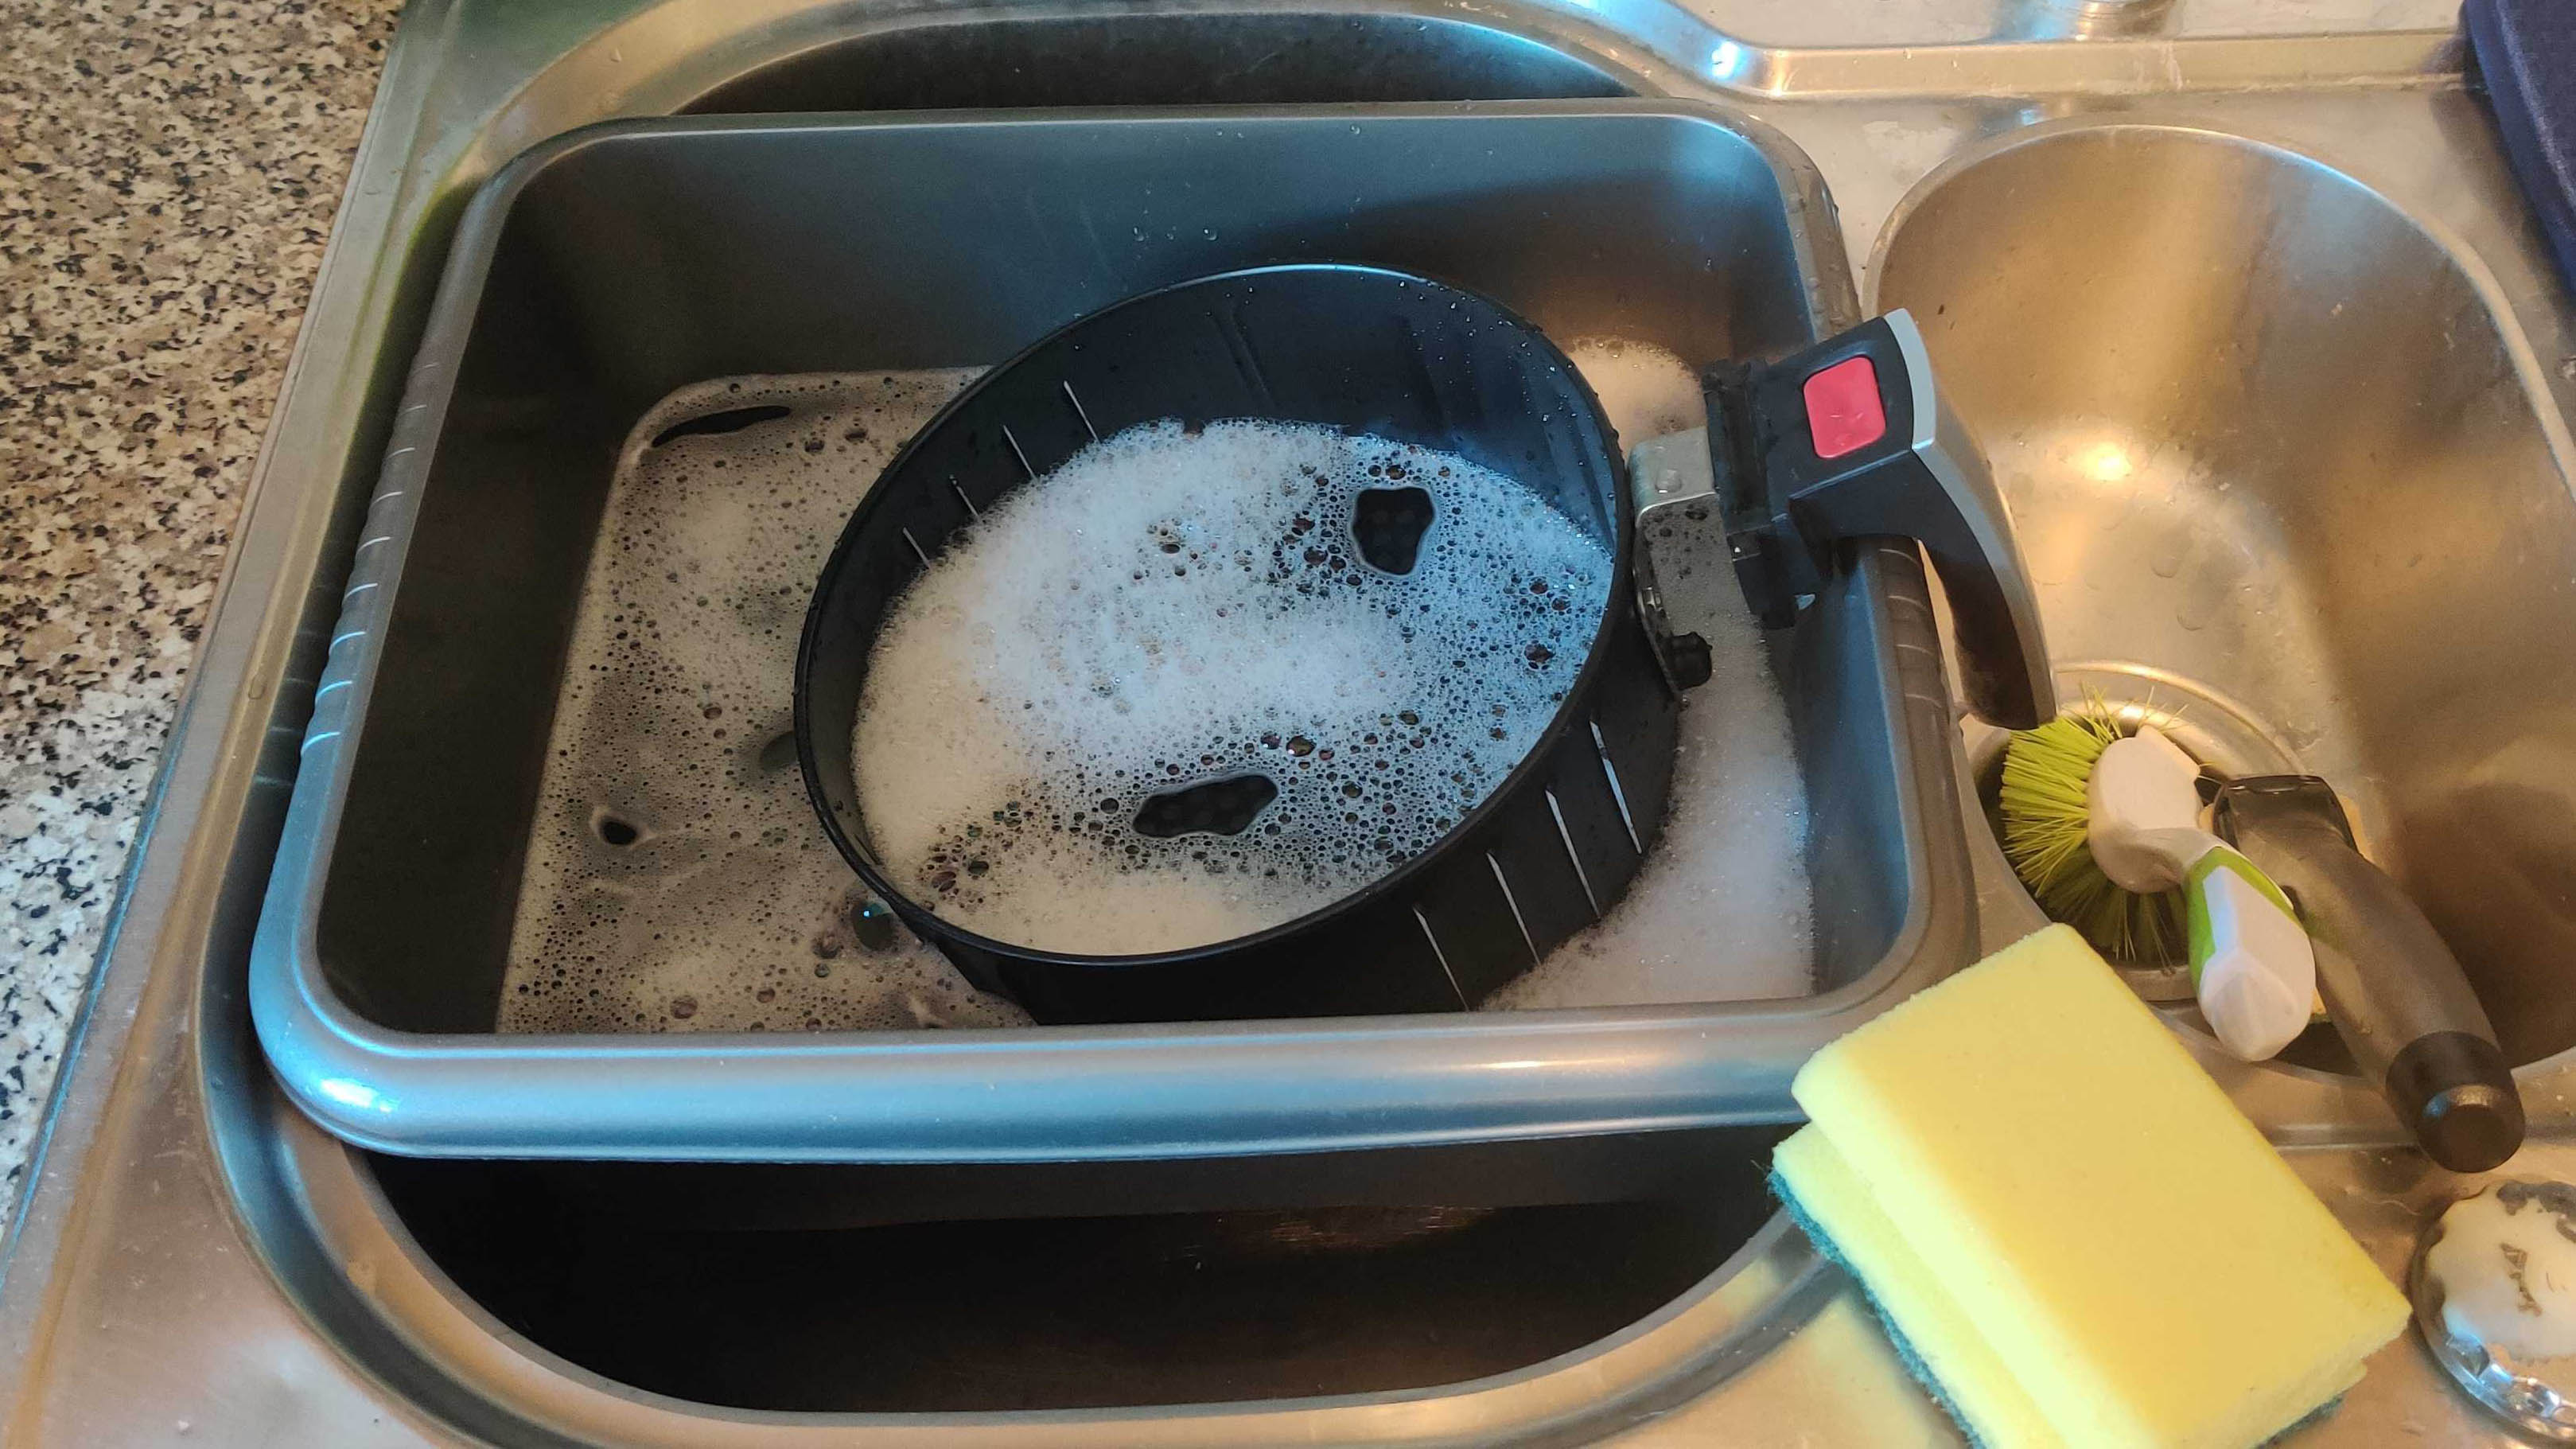
3. Once cool, you can clean the basket/racks. You can wash these in warm soapy water and use a sponge or soft-bristled brush to scrub away any residue. Don’t use metal utensils or steel wool to scrub, as this can damage the non-stick coating. If there’s any burnt-on residue, you can leave the basket or racks to soak in the soapy water prior to cleaning for 20 minutes. Use a toothbrush if there’s difficult to reach crevices. Rinse and leave the basket/racks out to fully dry. Alternatively, if these parts are dishwasher-safe according to the manual, you can do this instead.
4. If the outside of your air fryer looks a bit grubby, take a damp microfiber cloth and wipe it over with a small amount of dish soap. Then, rinse away the soap with another cloth.
5. Now you want to face the inside of your air fryer. First, position your air fryer where you get a good amount of light. Alternatively, you can use a lamp or flashlight to take a look inside and see what you’re dealing with.

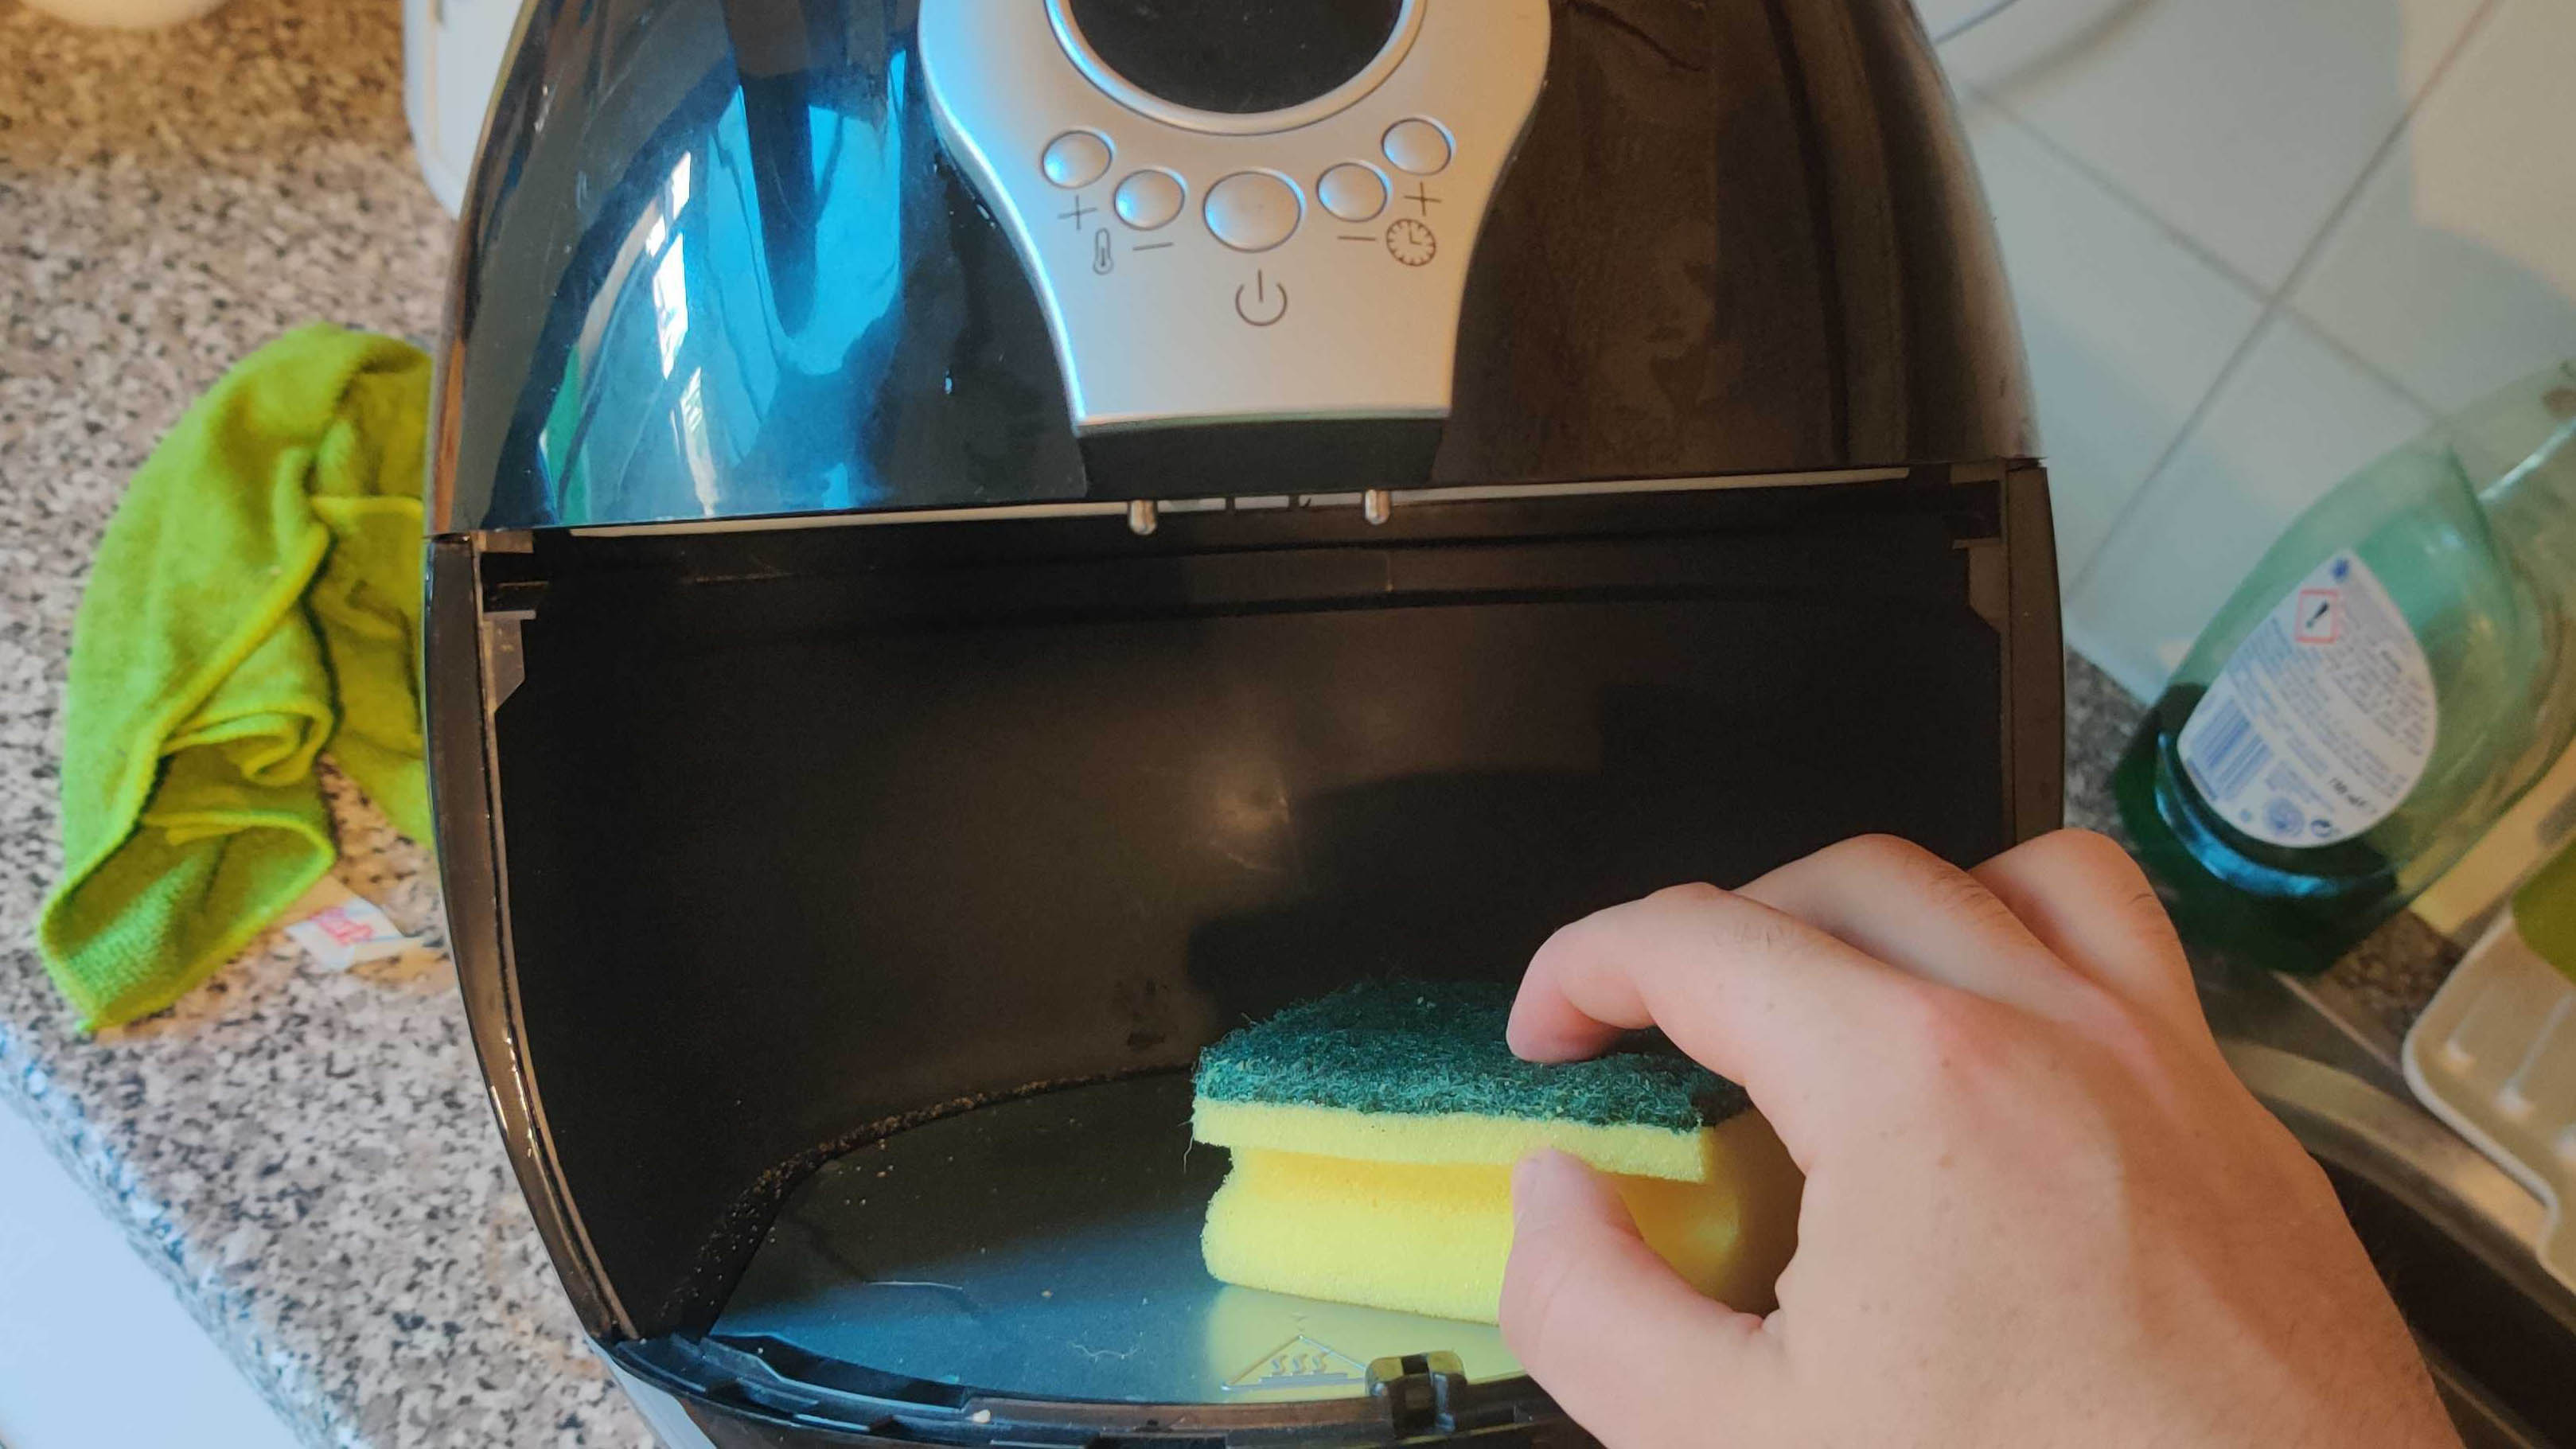
6. Using a damp soft-bristled brush, give the inside a gentle scrub to remove any immediate food debris. Wipe away anything that falls with a microfiber cloth. If it’s possible to turn your air fryer upside down, do so and repeat.
7. Next, using your damp microfiber cloth or sponge with a bit of dish soap, give the inside a clean, followed by rinsing with a fresh damp cloth. If you notice any stubborn residue, you can also make up a paste of baking soda with water, apply to those spots, and remove after 20 minutes with a damp cloth.
8. Leave your air fryer to completely dry before re-assembling.
Your air fryer should now be spotless. Make sure it’s fully dried before you start using it again.
For all the latest Technology News Click Here
For the latest news and updates, follow us on Google News.
