How to create an Apple ID in moments
You can’t get far in the world of Apple products and services without an Apple ID. You’ll need an Apple ID in order to make purchases from the App Store or iTunes Music Store. The Apple ID links all your Apple products, keeping your information in sync, and allowing you to enjoy the apps and services you have paid for across your devices. An Apple ID also provides a level of security and can be used to implement Activation Lock if your Apple device is stolen.
Happily, it’s easy to set an Apple ID up and doing so is free. In this article we show how to create an Apple ID.
For more advice on Apple ID account management, see How to change an Apple ID and How to use an Apple ID account.
There’s no requirement to have an Apple product to link the ID to, allowing anybody to create an account in preparation for purchasing – or even if you’re merely a curious Windows or Linux user. A free unlinked account provides limited access to iCloud, in order to use the online versions of Pages, Numbers and Keynote, and you’ll get 1GB of free iCloud storage to boot. However, aside from accessing this storage space from the aforementioned web-based apps, you can’t access it any other way – for example, via the iCloud Windows for Windows app – unless you first link the Apple ID to a Mac or iOS device by signing in there.
How to create a new Apple ID
Go to Apple’s website
Apple
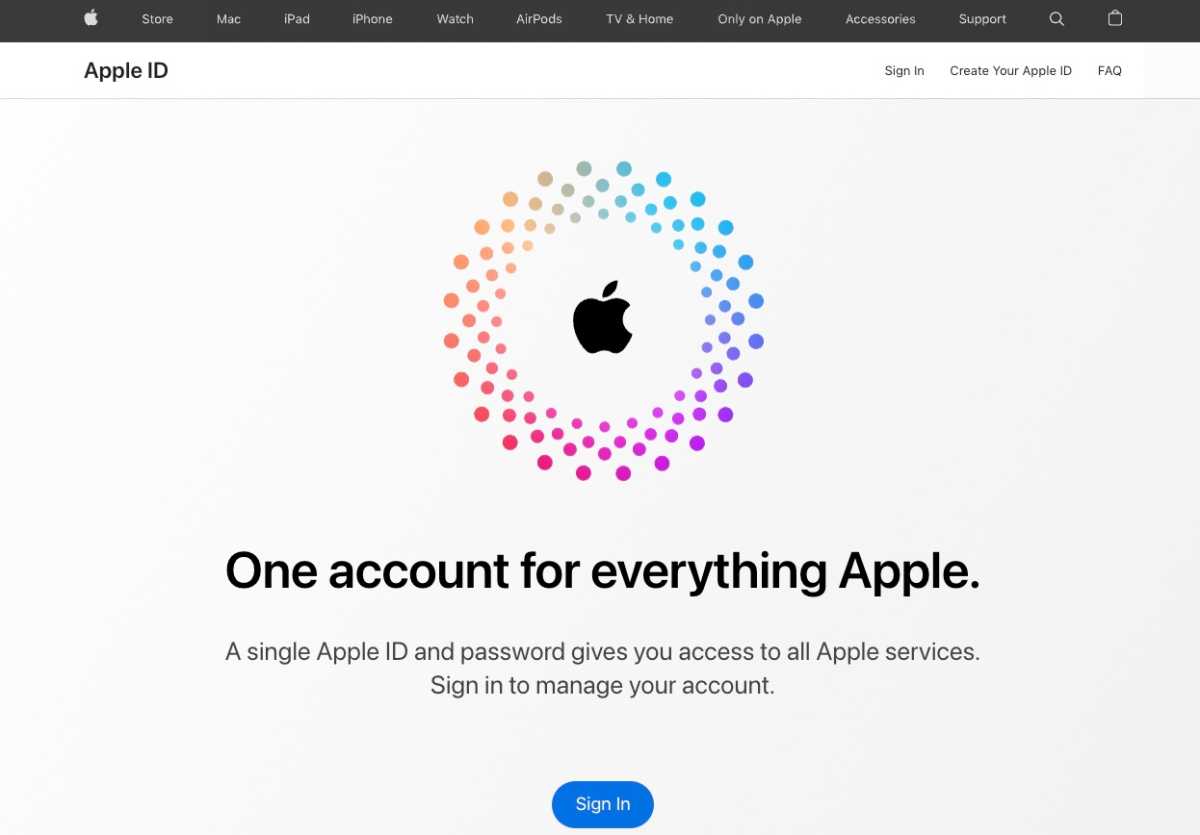
You can sign up for an Apple ID by visiting Apple’s ID section of its website here and clicking Create Your Apple ID.
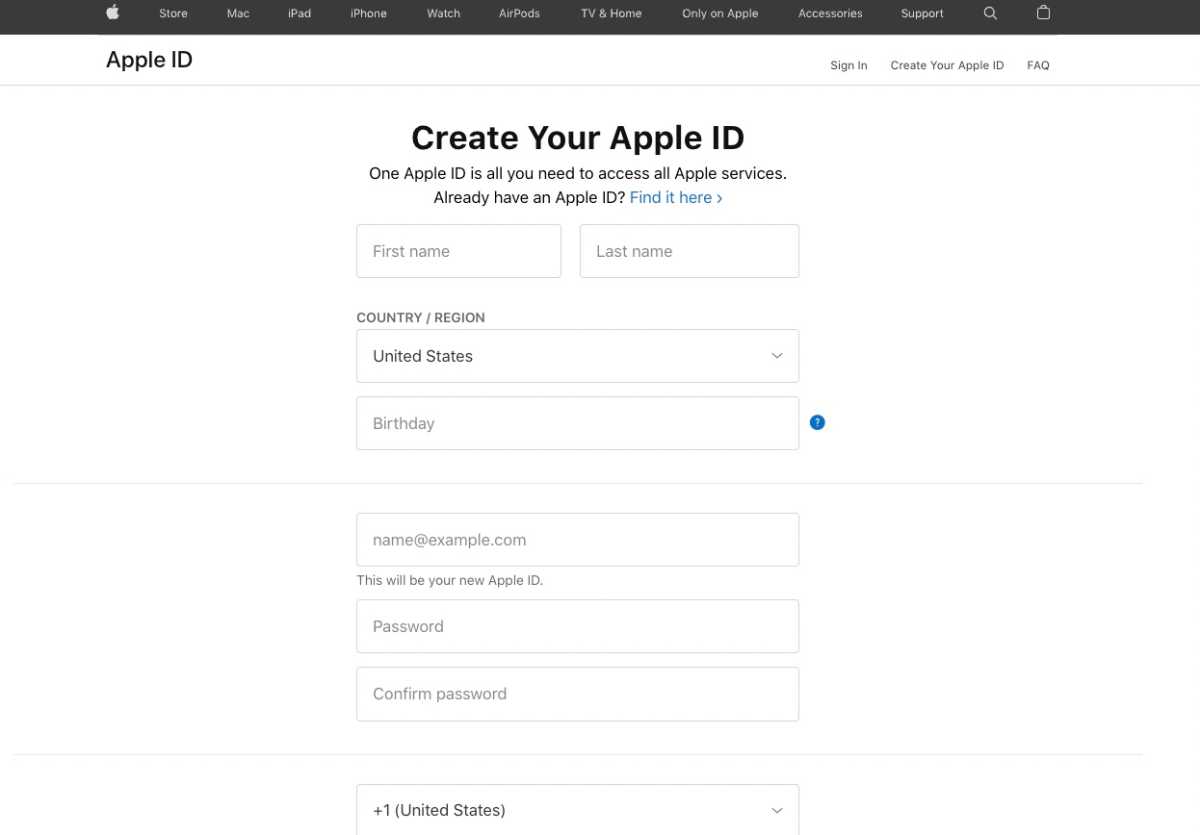
Enter your details and an email address to use to verify the account
Apple
Along with name and country you will need to add birthday as this will determine the services available for the account. There is an age limit: children under 13 can’t create an Apple ID (at least not in some regions). If you need to create an Apple ID for a child we explain how to do that in a separate article, we also discuss it here: How to set up an iPhone or iPad for a child.
In the box where it currently states: [email protected] you need to add a valid email address which will be used as your Apple ID – which of course complicates things if you don’t already have an email address. The address you use will be the username for your new Apple ID – you will need to enter that address and the password you choose every time you want to log in with your Apple ID.
Rather perversely, this email can’t be for an existing email account that’s provided by Apple, and it can’t be an address previously used for an Apple ID. Also remember that this needs to be an email you will have access too long term – so not a work email address if you might change jobs.
Don’t be tempted to provide false details here because a confirmation email will be sent to the address, and you’ll need to click the link within it before your Apple ID is opened for business.
You will also have to enter a mobile number to link to the account. This email and phone number are going to be used as part of the two factor authentication that will keep the account safe.
Once you have added all this information you will need to type the characters in the image to prove you aren’t a robot. Then click Continue.
And it gets even more complicated: Further down the application form you’re required to enter a second, different email address for rescue purposes, such as resetting your password. This address will be used very rarely and this time around the address can be one already used for an Apple ID. You could provide the email address of your spouse, for example, although again there’s a requirement to confirm by clicking a link in an email sent to the address.
Verify your Apple ID via the email address and phone number you provided
Apple
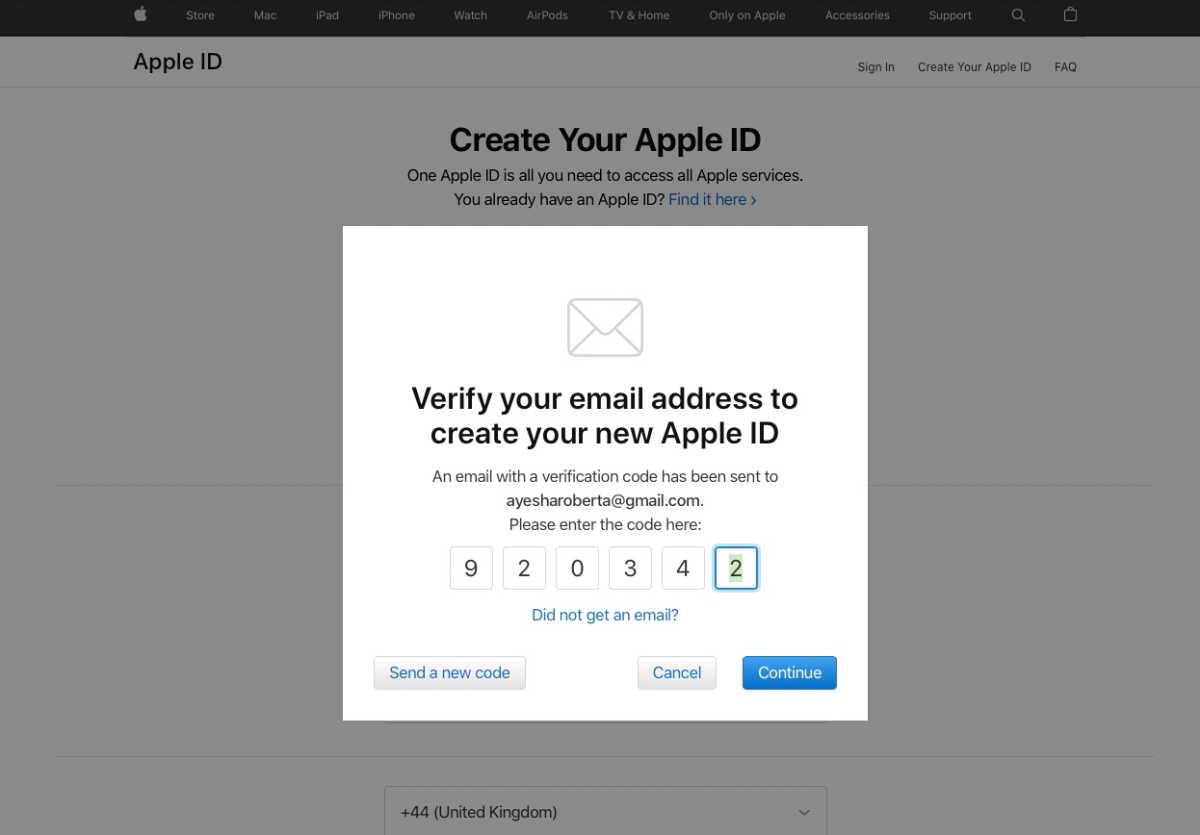
You now need to check the email address you used above to get the verification code. Enter that.
Then you will have to verify the phone number you entered as well. Enter the code provided.
Now you will have your new Apple ID. If you need to access your Apple ID account, for example to add payment information, you can do so via Apple’s website. Read: How to set up an Apple ID without a payment method.
Once you have the Apple ID setup you might want to add it to a Family Sharing account, which will allow you to share certain services, such as access to Apple TV+ or Apple Music. Read How to use Family Sharing for more information. Family Sharing also allows you to set up Screen Time limits for young people who own Apple devices.
Just don’t forget your password for your Apple ID now – it can be very tricky to reset Apple ID if you forgot the password.
Another thing to note: if you are going to be passing on, or selling, an old device be sure to remove the Apple ID from it first. Or the next person will be looking for How to remove a previous owner’s Apple ID from a used iPhone.
How to secure your Apple ID
When you set up the Apple ID you are also setting up two-step verification (sometimes called two-factor authentication, or TFA).
Doing this means that you won’t be able to use your Apple ID for purchases on a new device or Mac, or for iCloud login, or make changes to your account details, without entering a one-time code that Apple sends you. The code isn’t usually required in other circumstances and on Apple hardware upon which you’ve already confirmed your details.
You can choose for the code to be texted to your mobile phone (and not necessarily an iPhone), or sent to one of your iOS devices. You’ll also be given a failsafe recovery key that can be entered if two-step authentication isn’t possible – perhaps if you’ve switched mobile numbers, or sold the iOS device.
The idea behind
two-step verification is that while a hacker might feasibly get details of your Apple ID and password from somewhere – perhaps a Trojan virus, or fake website – it’s unlikely they’ll also get physical access to your phone or iOS device in order to receive the authentication code. Without it, they won’t be able to do anything significant.
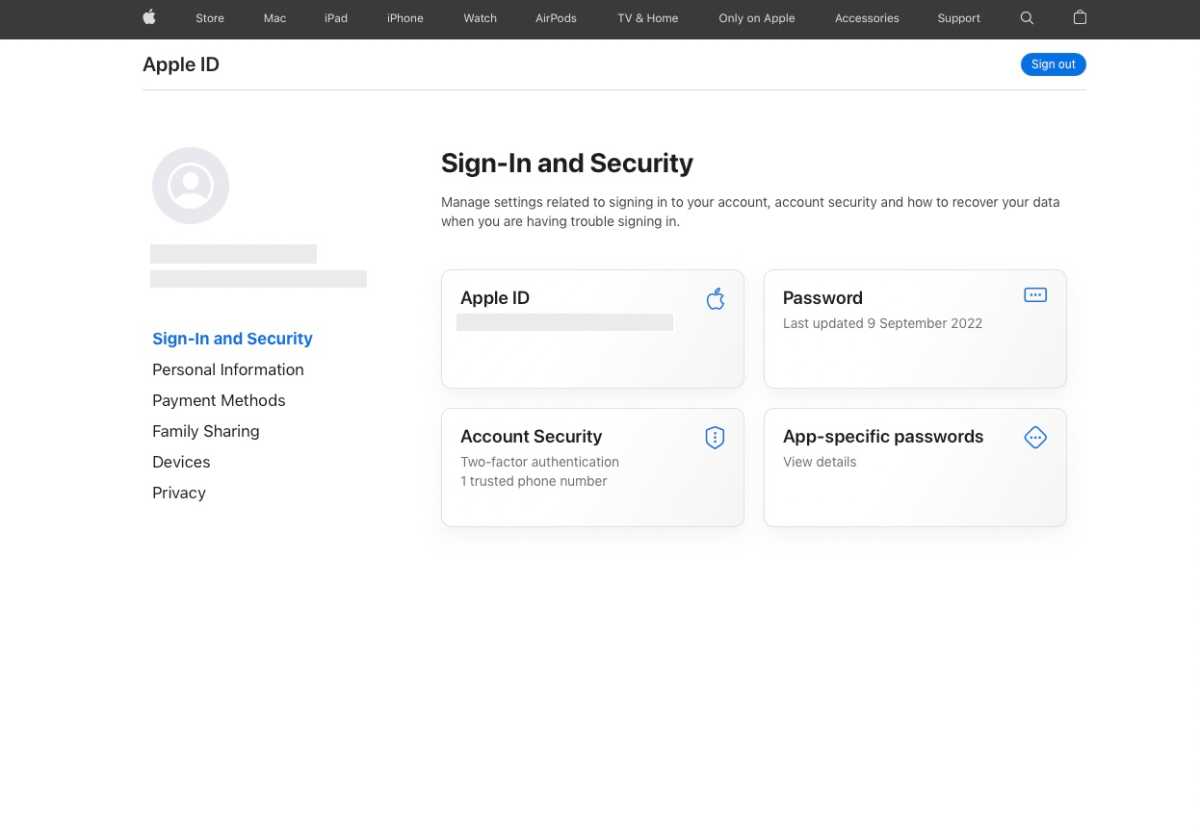
To set up, or amend, your two-step verification, visit the Apple ID website here but this time click Account Security, and login when prompted.
You might want to remove or change the phone number linked to your Apple ID account. You can also add another trusted mobile here to help you unlock your account should you not have access to the mobile number you used for set up – but you will still need to verify the change using the original phone number.
Then click the Password and Security link at the left, and answer the security questions to proceed. Then click Get Started under the Two-Step Verification heading.
Apple
We explain How to set up two-factor authentication for your Apple ID and iCloud account in a separate article.
Apple also offers the ability to set up a Legacy Contact for your iCloud account so that someone can access your account and devices after you die. You may also be interested to learn how to How to unlock an iPhone, iPad or Mac when its owner passed away.
What to do if you think someone has compromised your Apple ID
If your Apple ID is locked or disabled it is possible that it has been compromised, although that’s unlikely thanks to the two-factor authentication. If you were the one who got the password wrong we explain the steps you need to follow to unlock an Apple ID that’s locked or disabled separately.
If you do think your account has been hacked the first thing you should do is change your password, which is a simple task: you enter the email address associated with your Apple ID and Apple will send you an email allowing you to change the password.
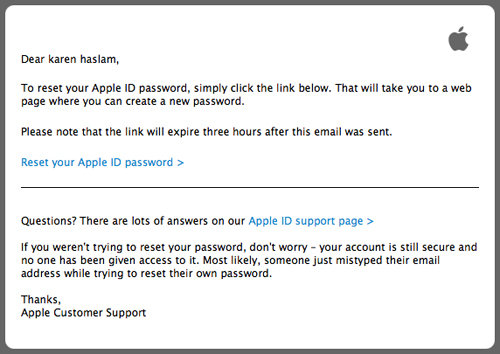
You may also be concerned that your account has been hacked if you see an an alert on a trusted device saying that someone has logged into your account, giving a rough idea of the location where the login took place. Even if you have just attempted to log on yourself it can be concerning if the location is miles away from where you live. Unfortunately Apple location alerts can be many miles out. If you know you were just attempting to log on don’t worry.
For all the latest Technology News Click Here
For the latest news and updates, follow us on Google News.
